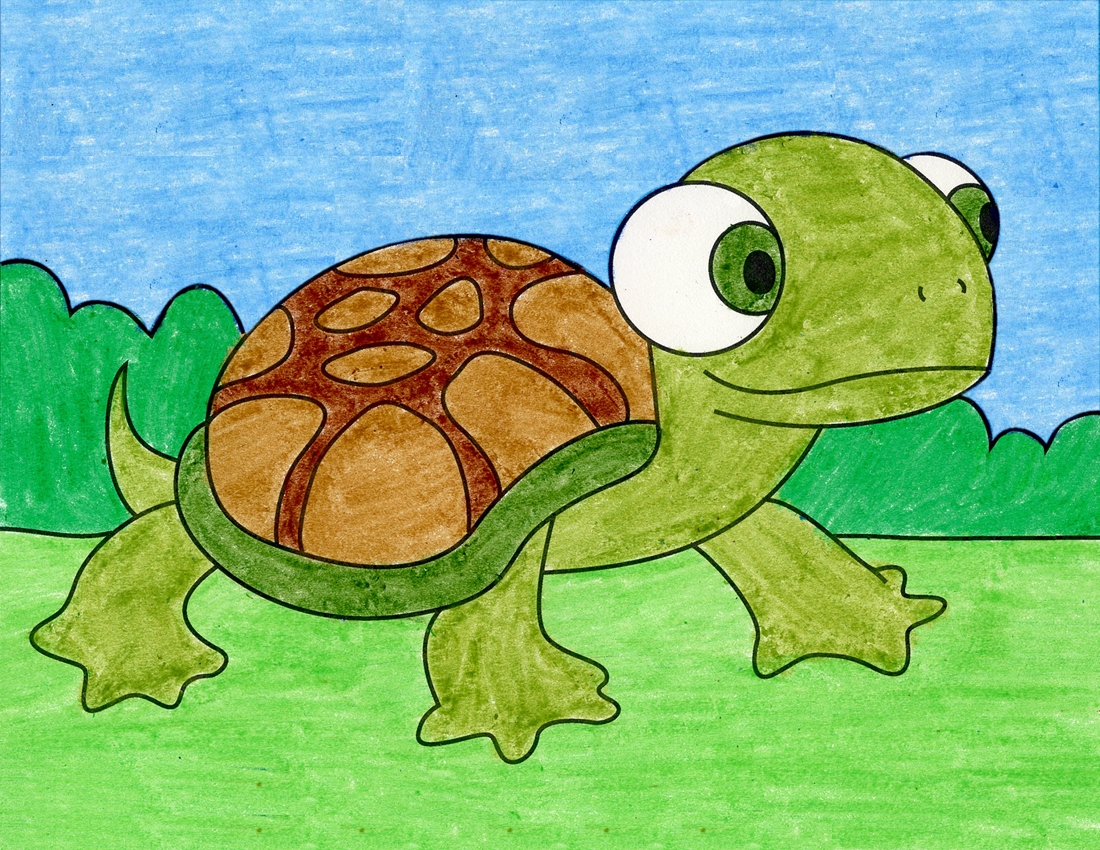
When it comes to drawing animals, turtles can be a fun and rewarding subject. Their unique shape and intricate details make them an interesting challenge for artists of all levels. Whether you’re a beginner or an experienced artist looking to improve your skills, drawing a turtle can be a great way to practice your techniques and creativity.
With just a few simple steps, you can create a cute and realistic turtle drawing that will impress your friends and family. So, grab your pencils and paper, and let’s get started!
Draw a Turtle
1. Start by drawing the basic outline of the turtle’s shell. Use a light pencil to sketch an oval shape for the body and a slightly larger oval on top for the shell. Make sure to leave some space for the head and legs.
2. Next, add the details to the shell. Draw small, curved lines within the shell to create the texture and pattern. You can get creative with different shapes and designs to make your turtle unique.
3. Now, draw the turtle’s head and legs. The head should be a small circle with two tiny eyes and a curved beak. For the legs, draw four short lines extending from the body with small ovals at the end for the feet.
4. Add the tail and any additional details you want to include. Turtles have long, thin tails that can be drawn with a simple curved line. You can also add spots, stripes, or other decorations to make your turtle stand out.
5. Finally, go over your drawing with a darker pencil or pen to outline and define the shape. Erase any unnecessary lines and add shading to give your turtle depth and dimension. Feel free to experiment with different techniques to bring your drawing to life.
With practice and patience, you can create a beautiful turtle drawing that showcases your artistic talent. Remember to have fun and enjoy the process of bringing this fascinating creature to life on paper. Happy drawing!
