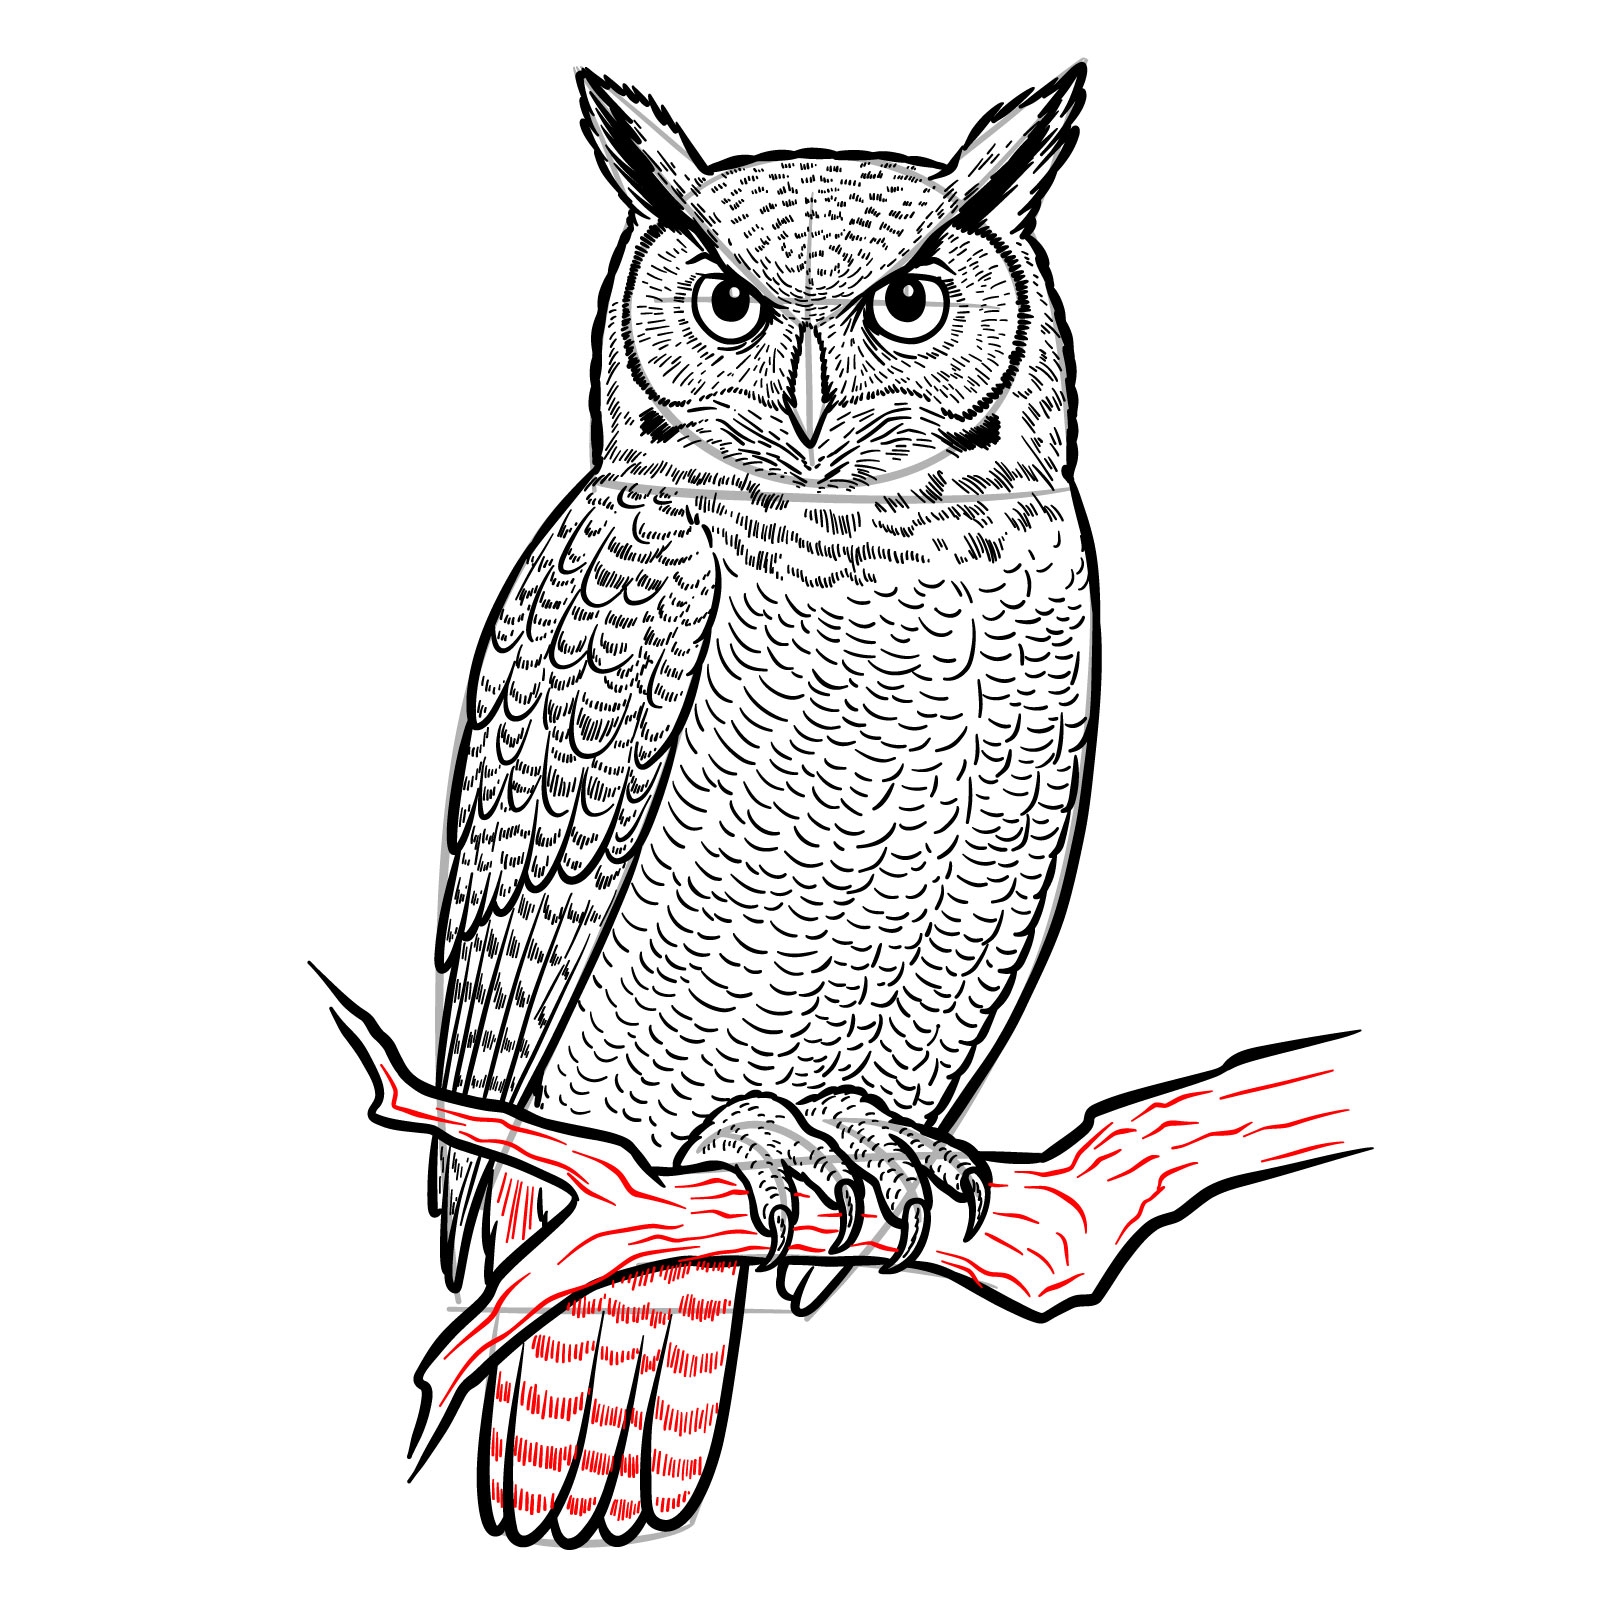
Have you ever come across a tutorial that leaves you feeling more confused than when you started? This is often the case with the infamous “draw the rest of the owl” meme. The meme humorously depicts a simple two-step drawing tutorial that abruptly jumps to the finished product, leaving out all the important steps in between.
While the meme may be funny, it can also be frustrating for those who genuinely want to learn how to draw. So, how do you actually draw the rest of the owl? Let’s break it down step by step.
Step 1: Start with the Basics
Begin by sketching out the basic shapes of the owl – a circle for the head, an oval for the body, and two smaller circles for the eyes. Don’t worry about getting everything perfect at this stage; the goal is to establish the overall shape and proportions of the owl.
Next, add in the details like the beak, wings, and tail feathers. Use light, quick strokes to outline these features before going in and adding more definition later. Remember, it’s always easier to add details than to erase them, so take your time with this step.
Step 2: Add Depth and Texture
Once you have the basic outline of the owl, it’s time to add depth and texture to bring your drawing to life. Start by shading in the darker areas of the owl, such as the feathers and the eyes. Use a combination of hatching and blending techniques to create a realistic look.
Don’t forget to add in the finer details, like the patterns on the feathers and the texture of the beak. These small touches will make your drawing stand out and give it a more polished look.
Step 3: Refine and Perfect
Finally, take a step back and look at your drawing as a whole. Are there any areas that need more shading or detail? Make any necessary adjustments to ensure that your owl looks cohesive and complete.
Once you’re satisfied with your drawing, consider adding a background or incorporating other elements to enhance the overall composition. And remember, practice makes perfect – so keep honing your drawing skills and challenging yourself to create even more intricate and detailed artwork.
In conclusion, drawing the rest of the owl may seem like a daunting task, but with patience and practice, you can master this art form. By breaking down the process into manageable steps and focusing on adding depth and texture, you’ll be well on your way to creating stunning owl drawings in no time.
