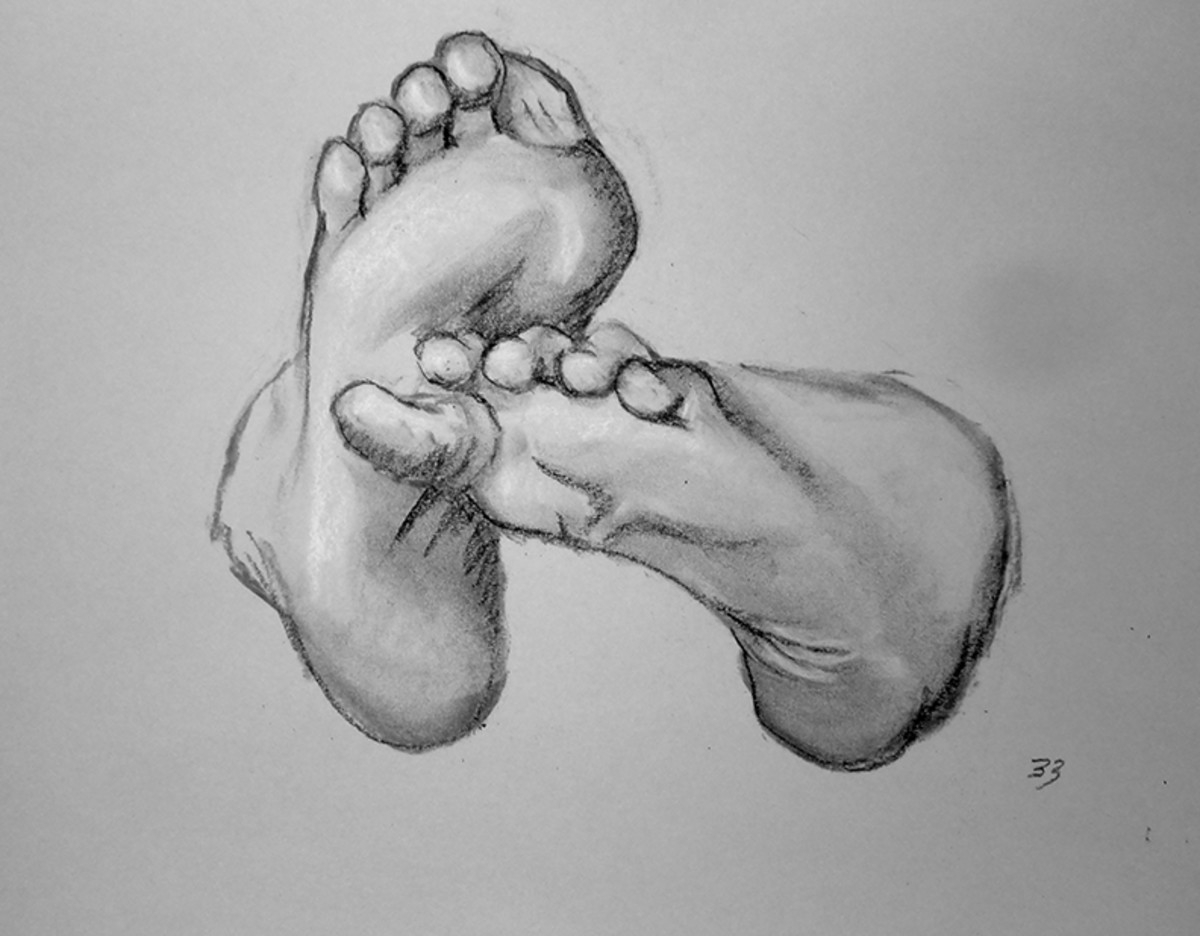
When it comes to drawing the human body, feet can often be a challenging subject for many artists. However, with some practice and attention to detail, you can learn how to draw a foot realistically. In this article, we will provide you with some tips and techniques to help you master the art of drawing a foot.
Start by sketching the basic outline of the foot. Begin with an oval shape for the heel and a long, slightly curved line for the arch of the foot. Next, add a smaller oval shape at the front of the foot for the toes. Once you have the basic shape of the foot, you can start adding more details such as the toes, the ball of the foot, and the ankle.
Pay attention to the proportions of the foot. The length of the foot is usually about the same length as the forearm from the elbow to the wrist. The width of the foot is typically about half the length. Make sure to observe the angles and shapes of the foot carefully to capture its unique structure.
Next, add more details to your foot drawing such as the toenails, the wrinkles on the skin, and the shading to give the foot a more three-dimensional look. Use a variety of pencil strokes to create texture and depth in your drawing. Remember to take your time and be patient as you work on these details.
Finally, practice drawing feet from different angles and perspectives to improve your skills. Look at reference photos of feet to study the anatomy and structure. Experiment with different techniques and styles to find what works best for you. With practice and dedication, you will be able to draw a foot with confidence and accuracy.
In conclusion, drawing a foot may seem daunting at first, but with the right techniques and practice, you can master this skill. Remember to start with the basic shapes, pay attention to proportions, add details, and practice regularly. Drawing a foot can be a rewarding experience that will enhance your overall drawing abilities. So grab your pencil and paper, and start sketching those feet!
