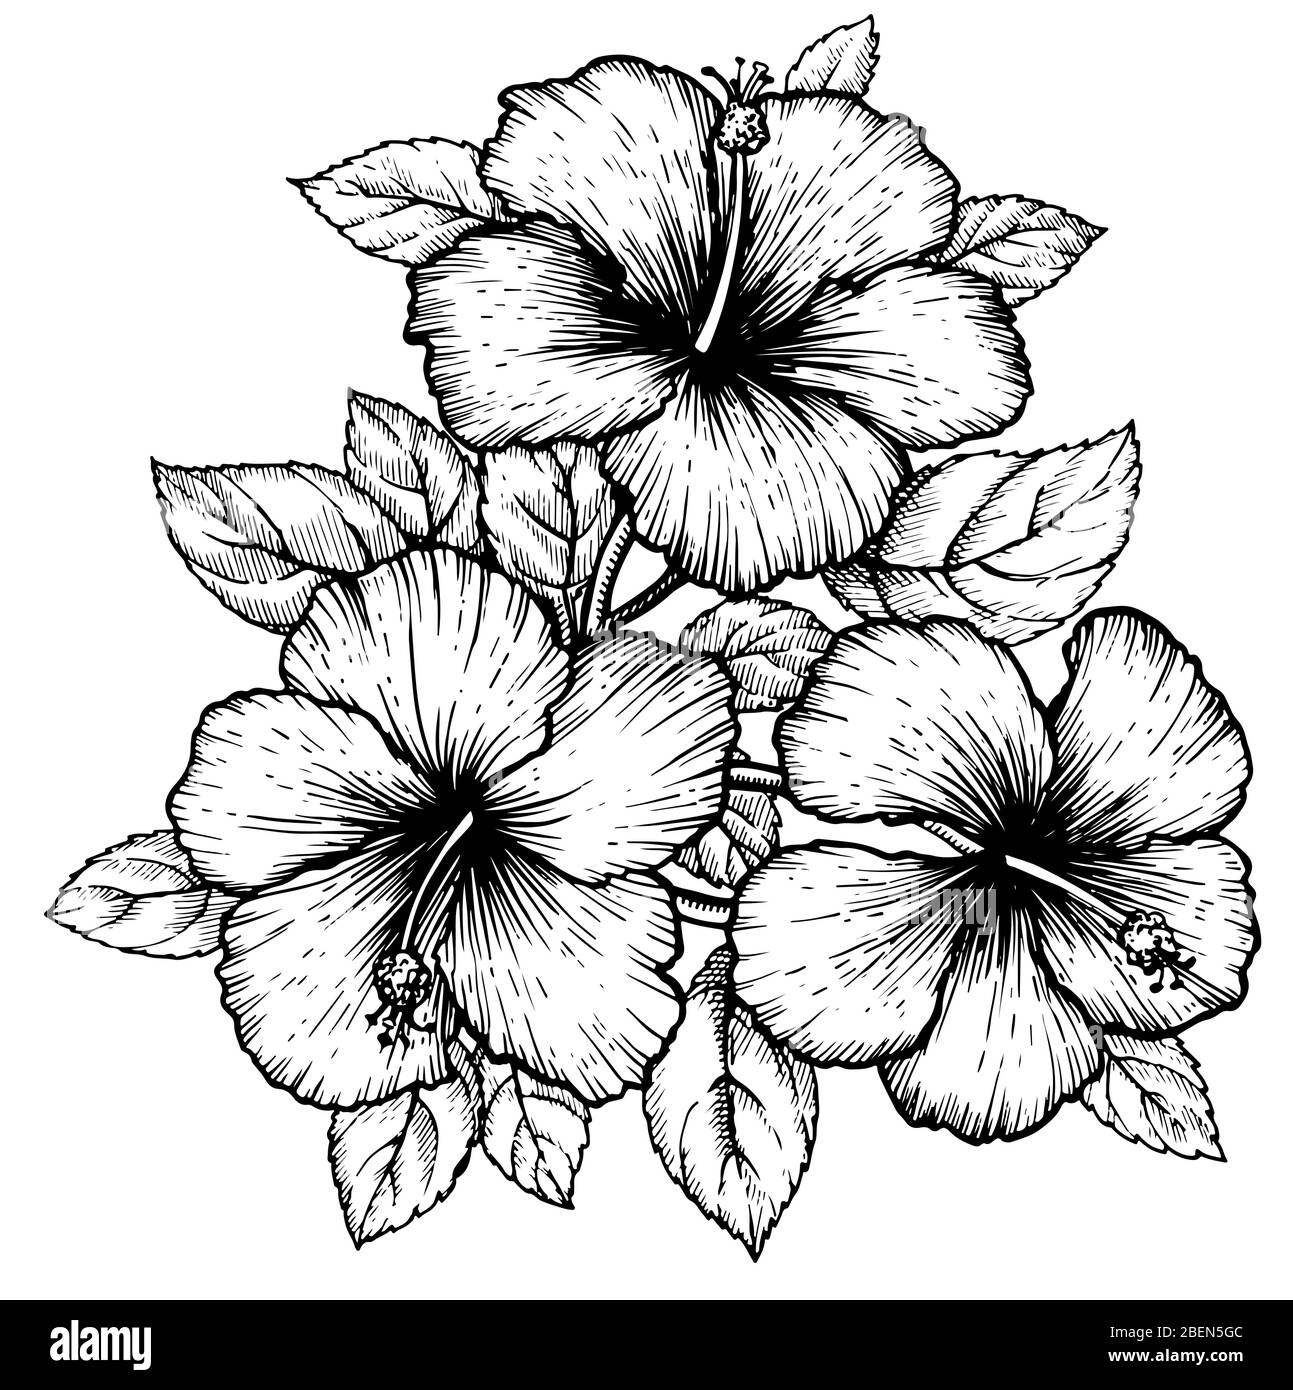
There is something truly captivating about the vibrant colors and intricate details of a blooming hibiscus flower. These tropical flowers are a favorite among artists and nature enthusiasts alike, with their delicate petals and striking appearance. Drawing a hibiscus flower allows you to capture the essence of its beauty and bring it to life on paper.
Whether you are an experienced artist or just starting out, drawing a blooming hibiscus flower can be a rewarding and enjoyable experience. With a few simple techniques and a bit of practice, you can create a stunning representation of this iconic flower.
Drawing of a Blooming Hibiscus Flower
Start by sketching the basic shape of the hibiscus flower. Begin with a circle for the center of the flower and add five heart-shaped petals around it. Hibiscus flowers come in a variety of colors, so choose your favorite shade for your drawing.
Next, add details to the petals by drawing veins and ruffled edges. Hibiscus flowers have a distinct texture, so be sure to capture that in your drawing. Use a light touch with your pencil to create subtle shading and depth.
Once you have finished drawing the petals, focus on the center of the flower. Hibiscus flowers have a prominent stamen with long filaments and a stigma at the tip. Add these details to your drawing to give it a realistic look.
Finally, add any additional details such as leaves or buds to complete your drawing. Pay attention to the placement and size of these elements to create a balanced composition. Once you are satisfied with your drawing, you can add color using colored pencils or markers to bring your hibiscus flower to life.
In conclusion, drawing a blooming hibiscus flower is a wonderful way to showcase the beauty of nature and hone your artistic skills. With practice and patience, you can create a stunning representation of this iconic flower that captures its vibrant colors and intricate details. So grab your sketchbook and pencil, and start drawing your own blooming hibiscus flower today!
