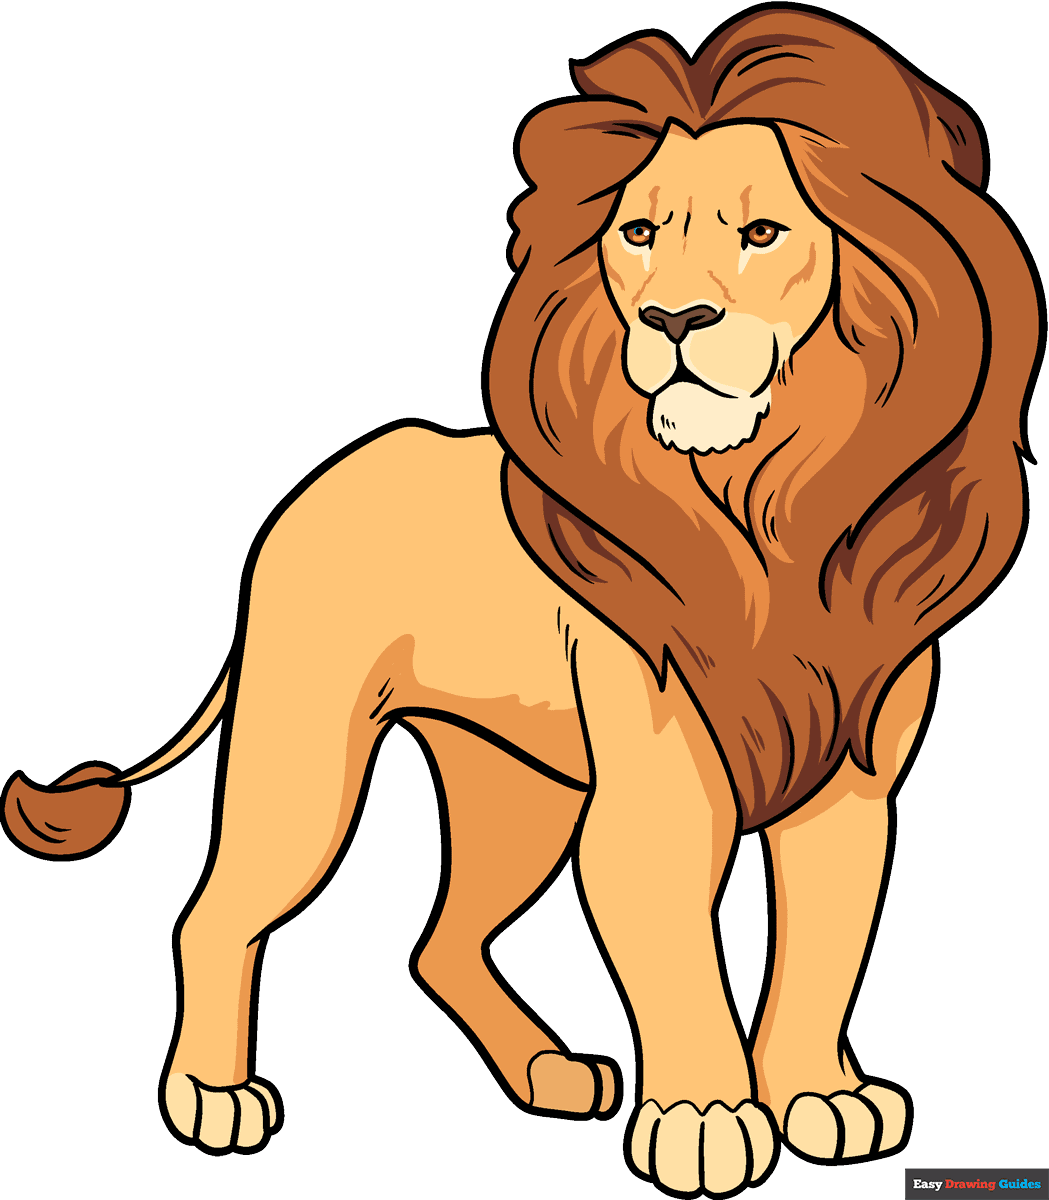
Lions are majestic creatures that are often seen as symbols of strength and courage. Drawing a lion may seem like a daunting task, but with some simple steps, you can create your own masterpiece. In this article, we will provide you with easy-to-follow instructions on how to draw a lion with minimal effort.
1. Start by sketching the basic shape of the lion’s head. Draw a large circle for the mane and add two smaller circles for the eyes. Connect the circles with curved lines to form the face.
2. Next, add details such as the nose, mouth, and ears. The nose can be drawn as a small triangle shape, while the mouth can be a curved line below the nose. The ears should be pointed and located on the sides of the head.
3. Now, it’s time to draw the mane. Lions have thick, flowing manes around their heads. Use short, curved lines to create the mane, making it look fluffy and realistic.
4. After drawing the mane, add details such as whiskers and fur texture. Lions have long whiskers on their faces, so make sure to include them in your drawing. You can also add some lines to show the texture of the fur.
5. Finally, add the finishing touches by shading and coloring your lion drawing. Use a combination of light and dark shades to create depth and dimension. You can use colored pencils or markers to bring your lion to life.
With these easy steps, you can create a beautiful lion drawing that showcases the majestic beauty of this powerful animal. Practice makes perfect, so don’t be afraid to experiment and refine your drawing skills. Remember, drawing is a form of self-expression, so have fun and enjoy the process of creating your own lion masterpiece!
In conclusion, drawing a lion can be a fun and rewarding experience. By following these simple steps, you can create your own lion drawing with minimal effort. So grab your pencil and paper, and let your creativity soar as you bring this majestic creature to life on the page.
