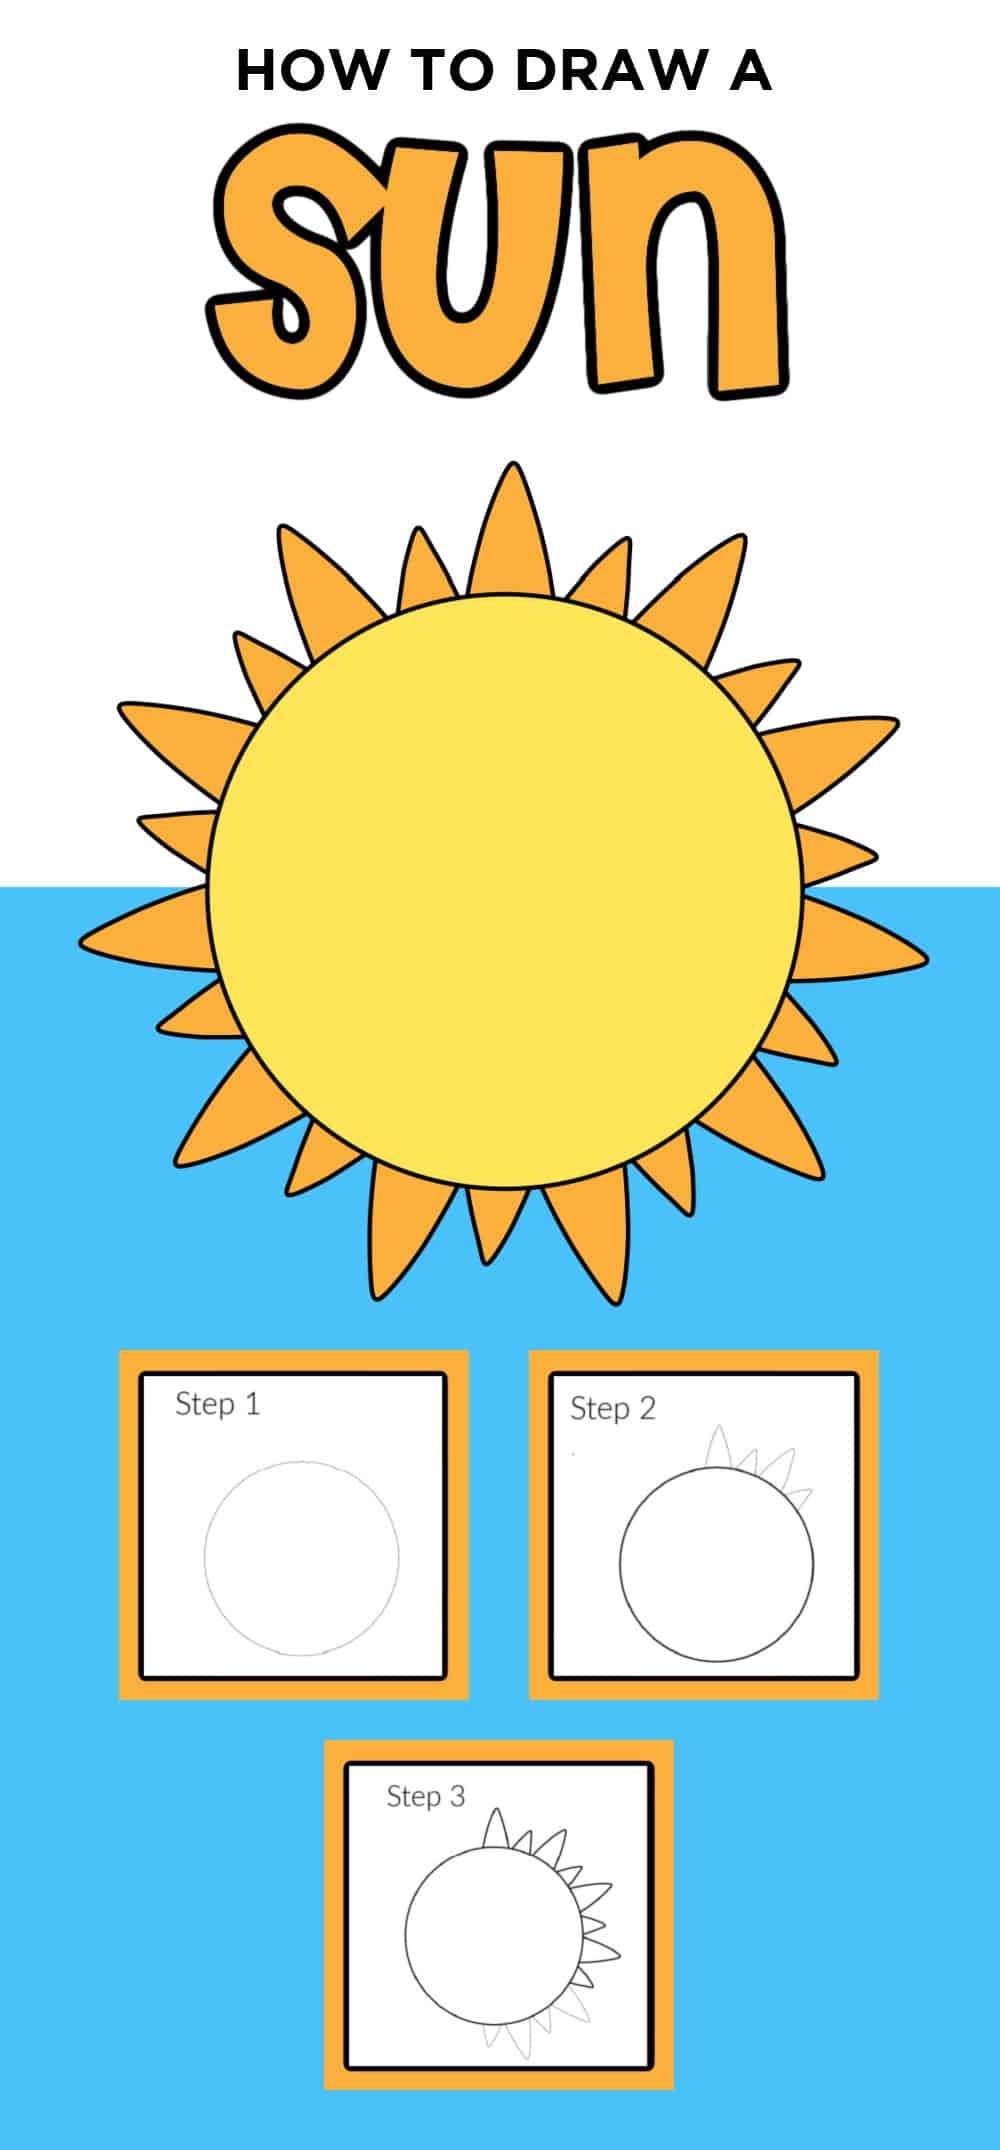
When it comes to drawing a sun, it’s a fun and simple task that can be done by artists of all skill levels. Whether you’re a beginner looking to improve your drawing skills or an experienced artist wanting to add a sun to your artwork, this step-by-step guide will help you create a beautiful sun.
Before you start drawing, make sure you have all the necessary materials on hand. You will need a piece of paper, a pencil, an eraser, and some colored pencils or markers to add color to your sun drawing.
Step 1: Draw a Circle
Start by drawing a large circle in the center of your paper. This circle will represent the sun. You can use a compass to create a perfect circle or simply freehand it for a more natural look.
Step 2: Add Sunrays
Next, draw several straight lines radiating out from the center of the circle to represent the sun’s rays. You can make the rays as long or short as you like, and you can add as many or as few rays as you want.
Step 3: Add Details
To make your sun drawing more realistic, you can add some additional details. You can add a smiling face in the center of the sun, or you can add some shading to give your sun dimension. Get creative and make your sun drawing unique!
Step 4: Color Your Sun
Finally, use your colored pencils or markers to add color to your sun drawing. You can use shades of yellow, orange, and red to create a warm and vibrant sun. Don’t forget to color in the sun’s rays as well to complete the look.
In conclusion, drawing a sun is a fun and easy way to add a touch of brightness to your artwork. By following these simple steps and getting creative with your design, you can create a beautiful sun that will brighten up any piece of art. So grab your materials and start drawing your own sun today!
