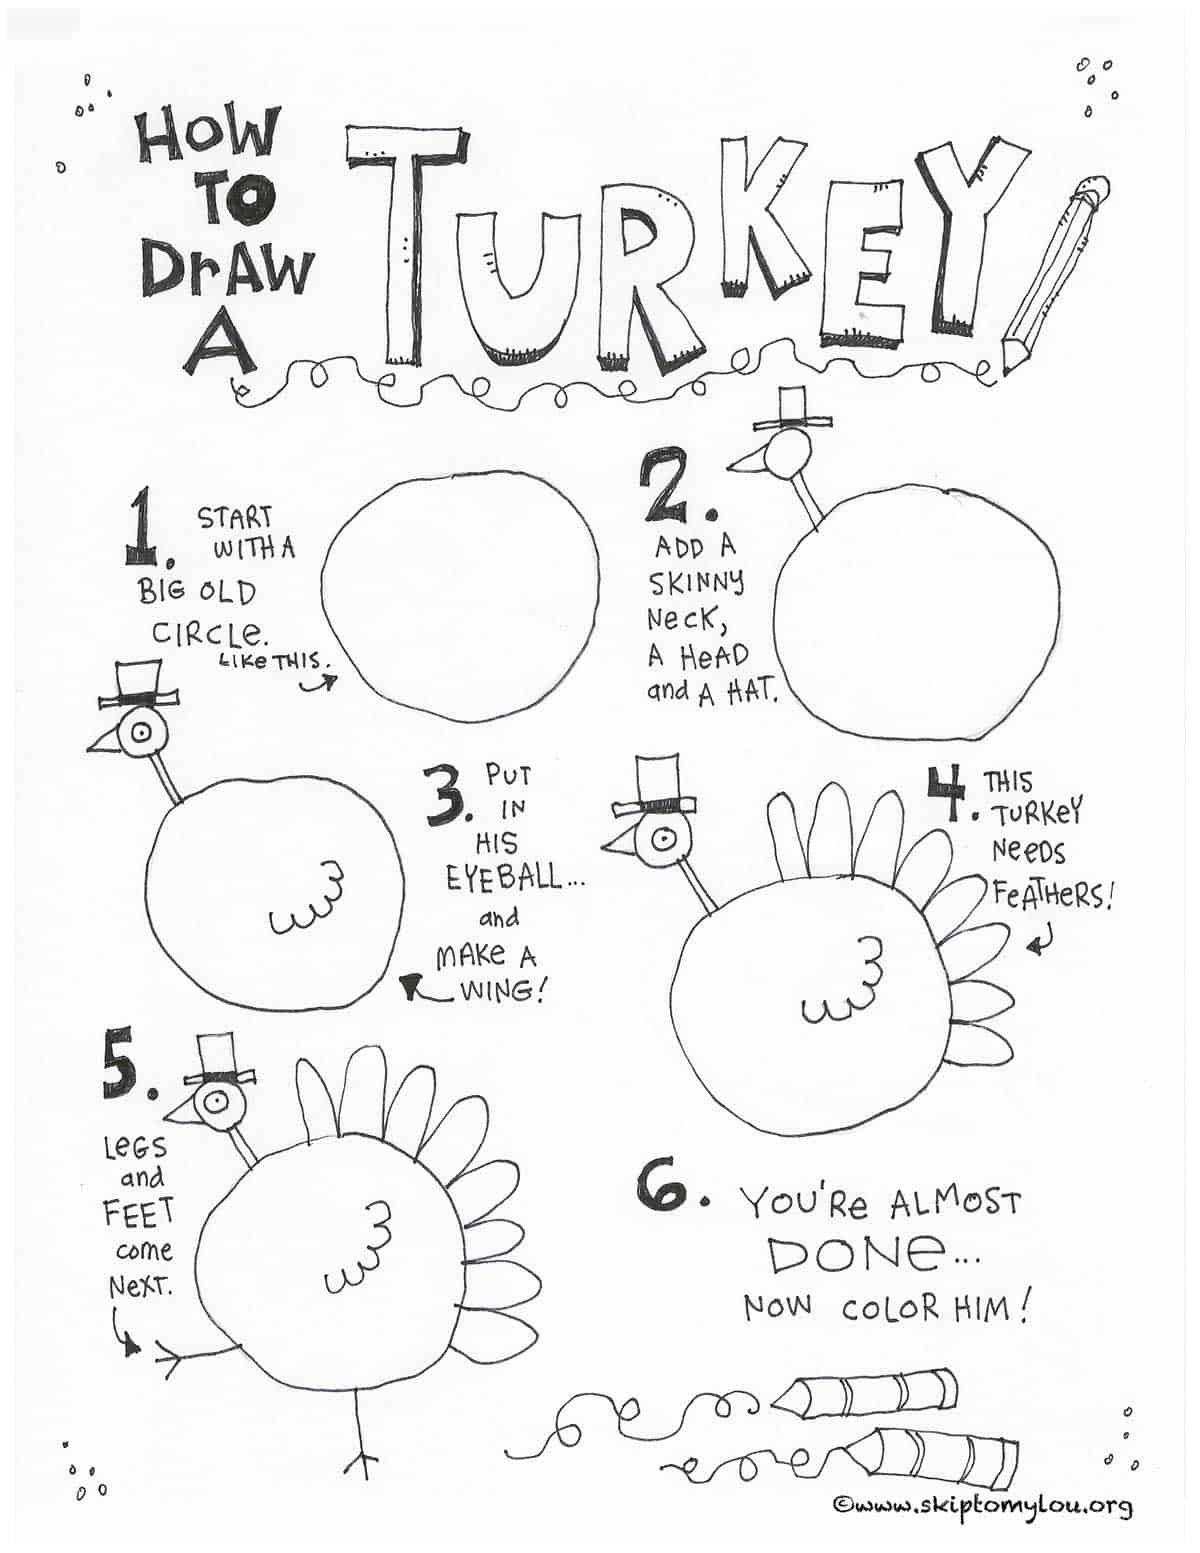
Thanksgiving is just around the corner, and what better way to get into the holiday spirit than by drawing a turkey? Drawing can be a fun and creative activity for kids of all ages. With a few simple steps, children can learn how to draw a cute and festive turkey to display proudly during the holiday season.
Whether your child is a budding artist or just looking for a fun activity to do, drawing a turkey is a great way to get creative and have some holiday fun. So grab some paper, pencils, and markers, and let’s get started on drawing a turkey!
How to Draw a Turkey for Kids
1. Start by drawing an oval shape for the turkey’s body. This will be the main part of the turkey’s body.
2. Next, draw a circle for the turkey’s head at the top of the oval shape. Add two small circles for the eyes and a triangle for the beak.
3. Draw two long, curved lines at the bottom of the oval shape for the turkey’s legs. Add small ovals at the end of each leg for the turkey’s feet.
4. Now, it’s time to add the turkey’s famous feathers. Draw a series of curved lines at the back of the oval shape to create the turkey’s tail feathers.
5. Finally, add some finishing touches by coloring in your turkey with brown, red, yellow, and orange markers. Don’t forget to add some fun details like polka dots or stripes to make your turkey unique!
With these simple steps, kids can easily learn how to draw a turkey that is perfect for Thanksgiving decorations or greeting cards. Encourage your child to get creative and add their own personal touches to make their turkey even more special.
So this Thanksgiving, gather the kids around the table and have a fun drawing session to create adorable turkeys to display around the house. Drawing a turkey is a great way to get into the holiday spirit and add some festive decorations to your home.
