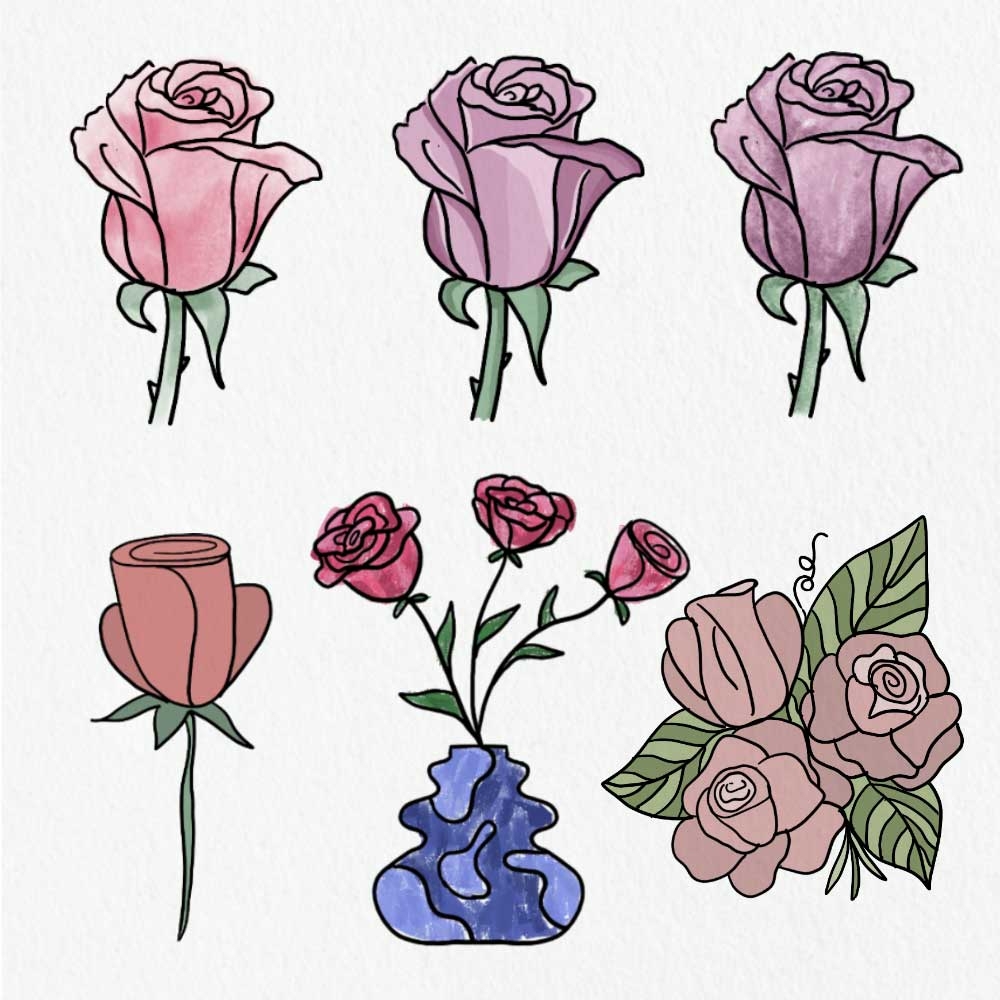
Roses are a classic symbol of love and beauty. Drawing a simple rose can be a fun and relaxing activity for artists of all skill levels. Whether you are a beginner or an experienced artist, learning how to draw a simple rose can be a rewarding experience. In this article, we will provide you with step-by-step instructions on how to draw a simple rose.
1. Start by drawing a small circle in the center of your paper. This will be the center of the rose.
2. Next, draw five petals around the circle. You can make the petals as big or as small as you like. Remember, roses come in all shapes and sizes, so feel free to get creative with your petal shapes.
3. Add more layers of petals around the first layer. Each layer of petals should be slightly larger than the previous one. This will give your rose a full and blooming appearance.
4. Once you have added all the layers of petals, add some details to the center of the rose. You can add small lines or dots to give the rose a more realistic look.
5. Finally, add some leaves and a stem to your rose. You can make the leaves as big or as small as you like. Don’t forget to add some thorns to the stem for an added touch of realism.
With these simple steps, you can create a beautiful and realistic rose drawing. Remember, practice makes perfect, so don’t be afraid to try different techniques and styles. Drawing a simple rose can be a great way to relax and unwind, while also improving your artistic skills.
In conclusion, drawing a simple rose can be a fun and rewarding experience for artists of all levels. By following the steps outlined in this article, you can create a beautiful and realistic rose drawing. So grab your paper and pencil, and start drawing your own simple rose today!
