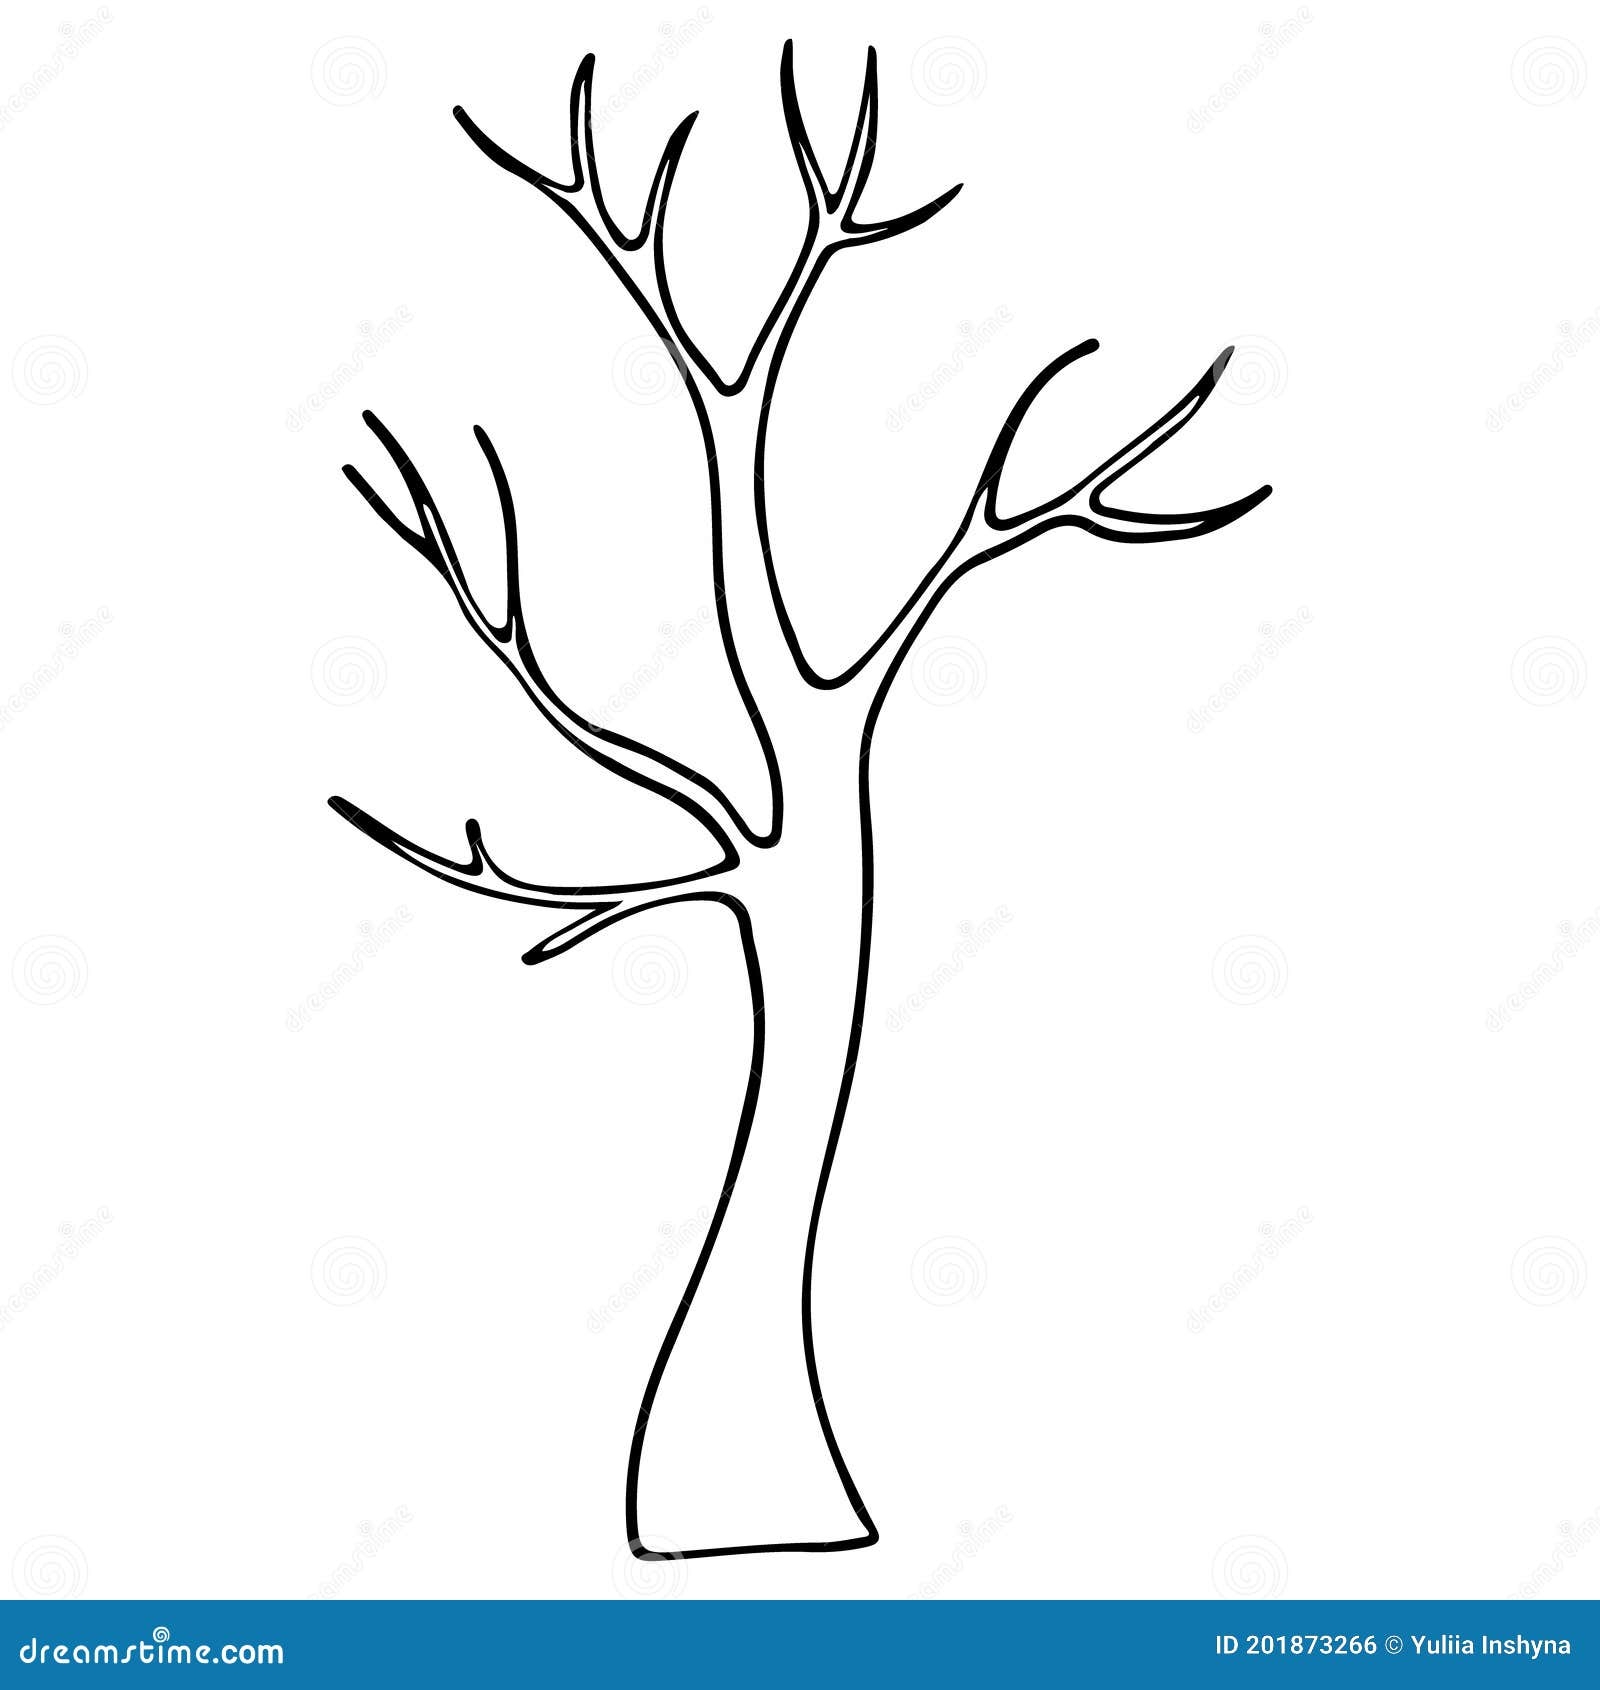
Tree drawing is a fun and creative activity that can be enjoyed by people of all ages. Whether you are an experienced artist or just starting out, creating a simple tree drawing can be a relaxing and rewarding experience. In this article, we will explore some easy techniques for drawing a tree with minimal effort.
With just a few basic supplies, such as paper, pencil, and eraser, you can create a beautiful tree drawing that will impress your friends and family. Let’s get started!
Simple Tree Drawing
Start by drawing a straight line for the trunk of the tree. This will serve as the foundation for your drawing. Next, add a few curved lines at the top of the trunk to represent the branches. Remember, trees in nature are not perfectly symmetrical, so feel free to experiment with different shapes and sizes.
Once you have outlined the basic shape of the tree, it’s time to add some details. Use short, quick strokes to create the texture of the bark on the trunk. For the leaves, you can simply draw small, oval shapes clustered together at the ends of the branches. Don’t worry about making them all identical – variation in size and shape will add to the natural look of the tree.
To give your tree drawing some depth, consider adding shading. Use a pencil to lightly shade in areas where shadows would naturally fall, such as underneath the branches or along the trunk. This will create a more realistic and three-dimensional effect.
Finally, take a step back and admire your simple tree drawing. You may want to add some additional details, such as a background or a few animals resting in the shade of the tree. Feel free to get creative and make the drawing your own!
In conclusion, drawing a simple tree can be a fun and rewarding experience. With just a few basic techniques and some creativity, you can create a beautiful and realistic tree drawing that will impress everyone who sees it. So grab your supplies and start drawing today!
