Microphones are essential tools for recording sound, whether it be for music, podcasts, or other audio projects. Drawing a microphone can be a fun and creative way to showcase your love for music and sound technology. In this article, we will guide you through the steps of drawing a simple microphone.
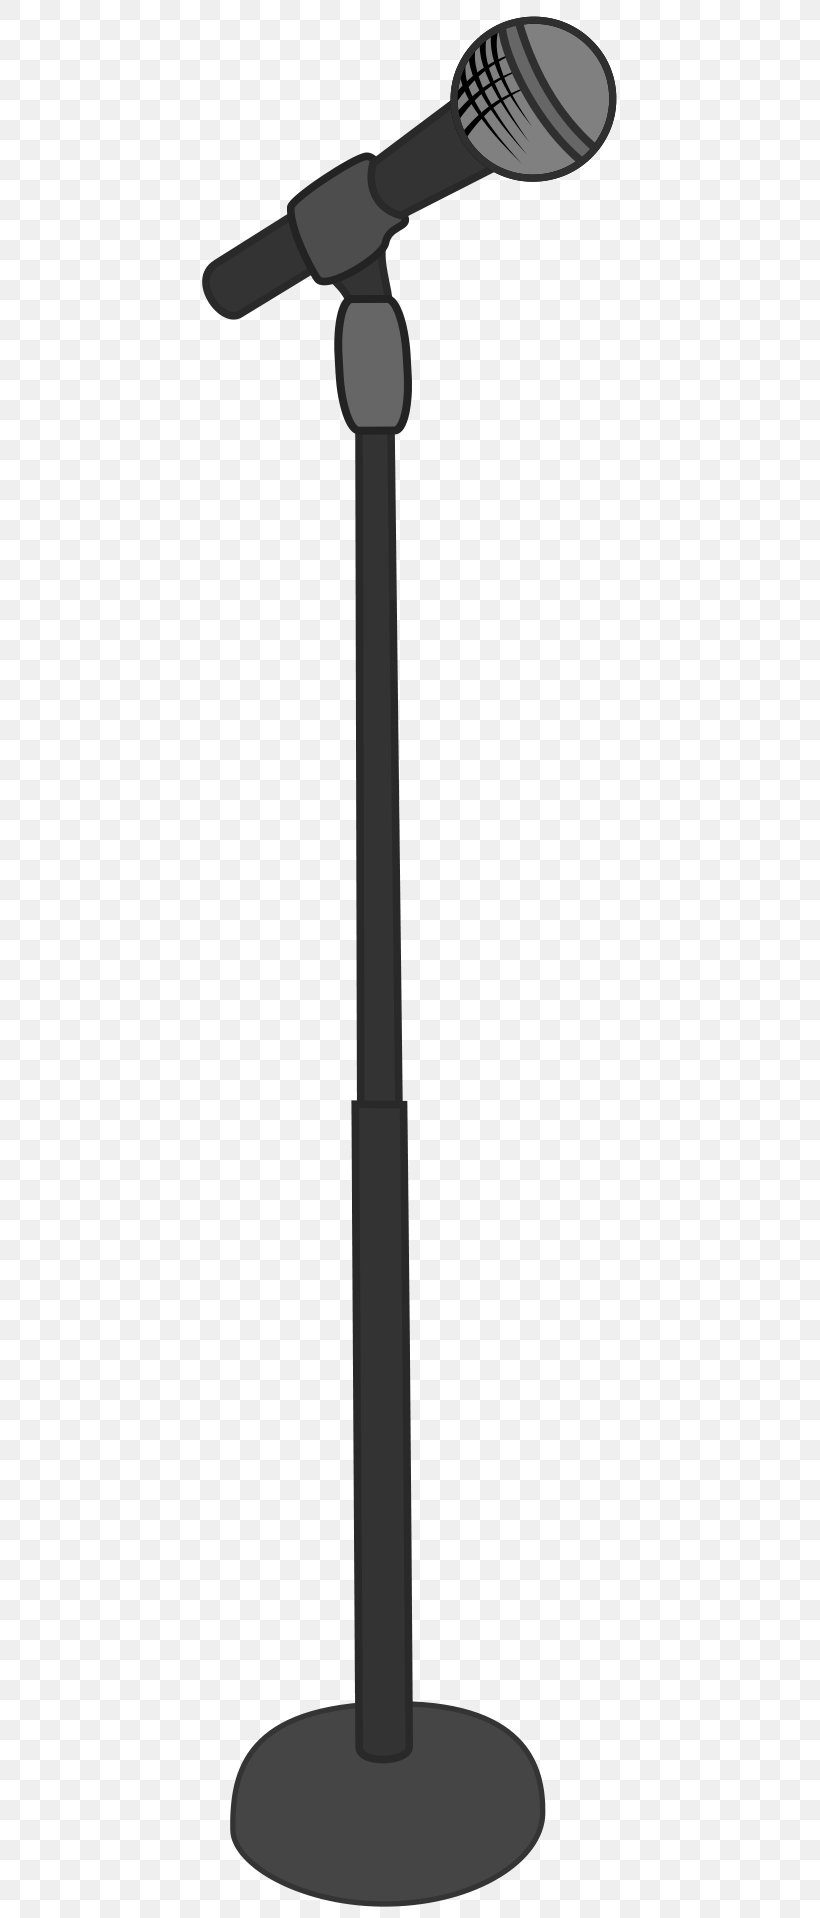
Start by drawing the basic shape of the microphone. This can be a simple rectangle or oval shape for the body of the microphone. Next, add a smaller rectangle or circle at the top of the body to represent the head of the microphone.
Once you have the basic shape of the microphone, add details such as the grille or mesh covering on the head of the microphone. You can do this by drawing a series of small circles or ovals to represent the holes in the grille. Make sure to leave a small space at the bottom of the head for the microphone stand.
Next, add the microphone stand by drawing a long, thin rectangle extending from the bottom of the microphone head. You can add a circular base at the bottom of the stand to complete the look of the microphone. Feel free to add any additional details such as buttons or switches on the body of the microphone to make it more realistic.
Finally, add shading and color to your drawing to give it depth and dimension. You can use different shades of gray to create a metallic look for the microphone, or add a pop of color to make it stand out. Don’t forget to add highlights and shadows to make your drawing look more realistic.
Once you have finished adding all the details, take a step back and admire your drawing of a microphone. Whether you are an aspiring artist or just looking to have some fun, drawing a microphone can be a rewarding and enjoyable experience. So grab your pencil and paper, and start drawing your very own microphone today!
