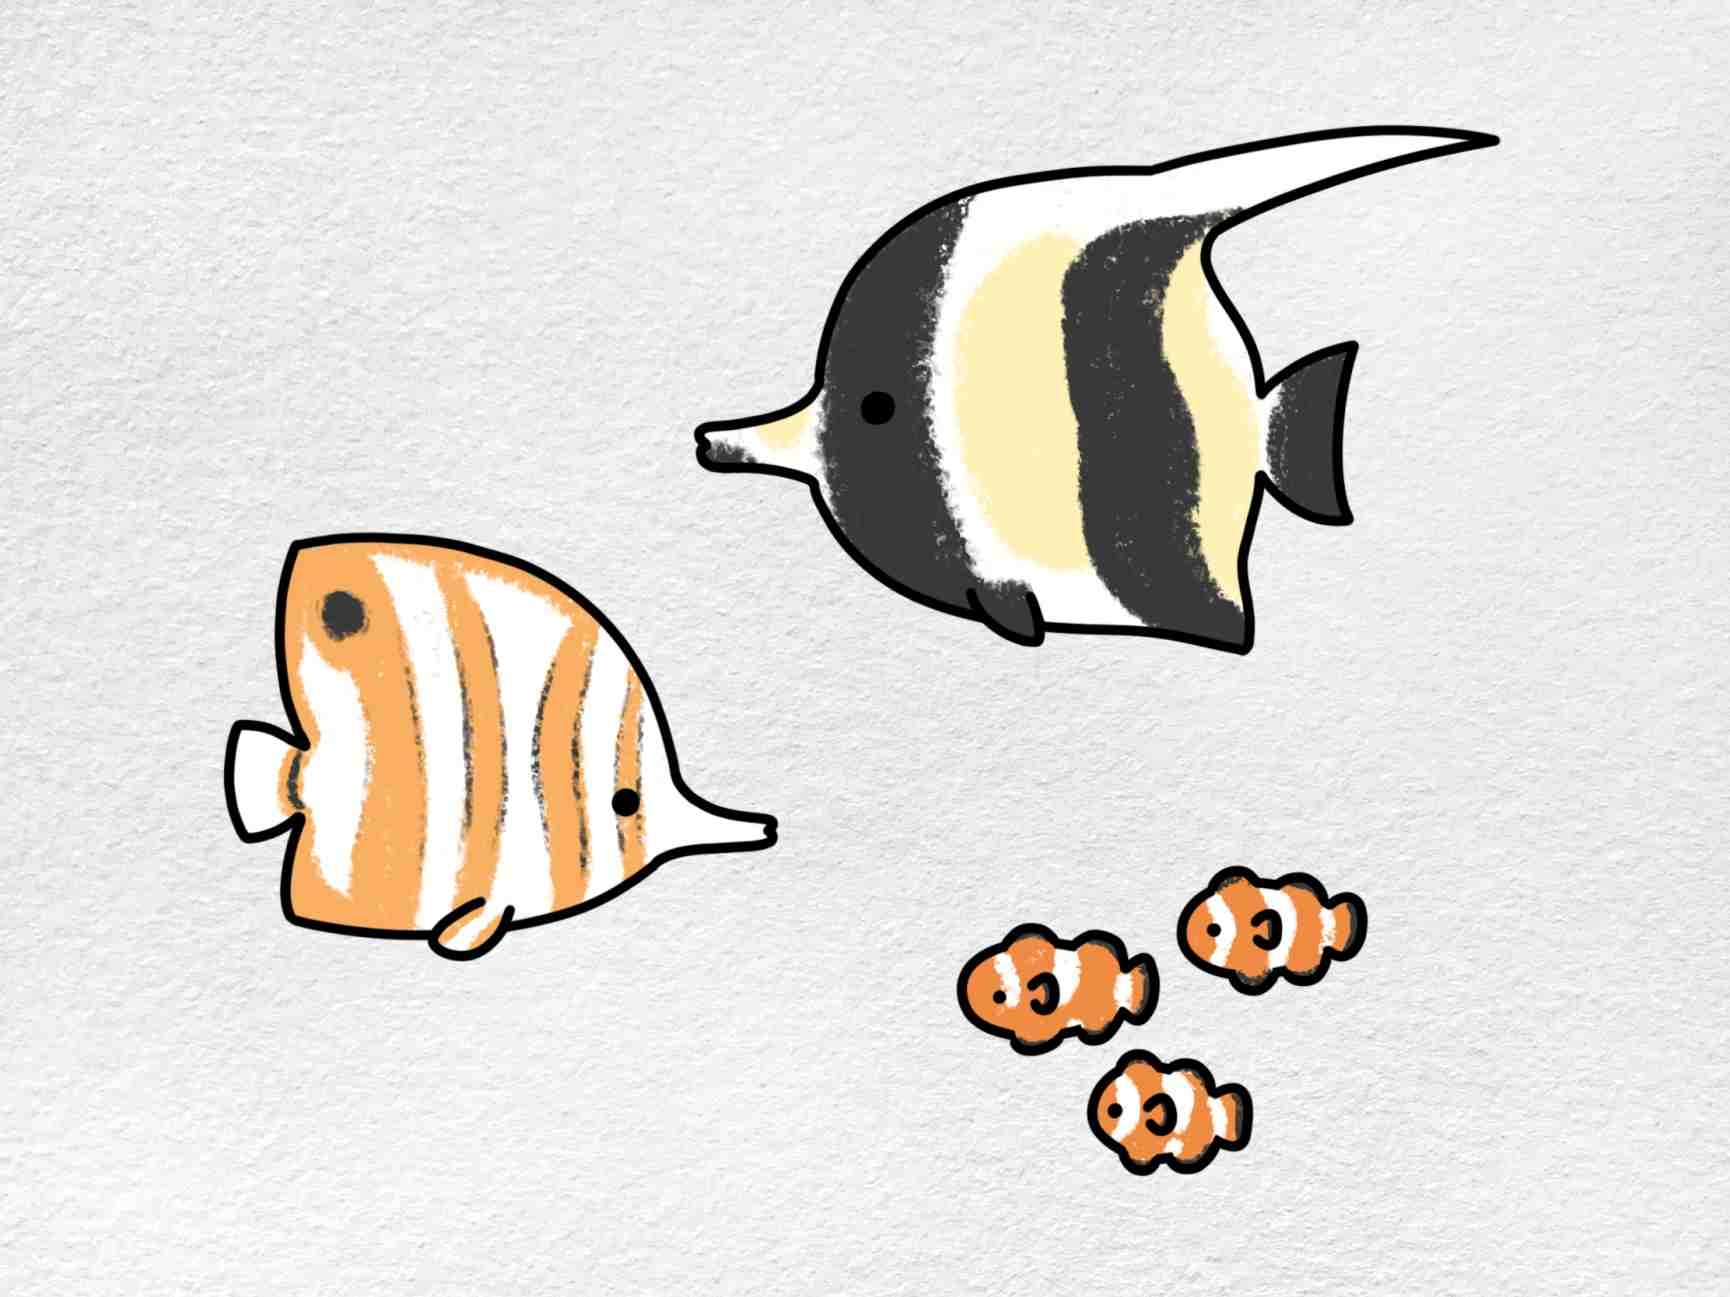
Are you looking to unleash your artistic side and try your hand at drawing? Drawing a fish is a great place to start, as it is a simple and fun subject that can be easily mastered, even by beginners. In this article, we will provide you with step-by-step instructions on how to draw a fish in a few easy steps. So grab your pencil and paper, and let’s get started!
1. Begin by drawing an oval shape for the body of the fish. This will serve as the foundation for your drawing. Next, add a small triangle shape at one end of the oval to represent the tail of the fish.
2. Now, draw a slightly curved line starting from the top of the oval and ending at the tail. This will be the fish’s back. Add a smaller curved line below the first one to create the belly of the fish.
3. To draw the fins, start by adding a triangle shape near the head of the fish for the dorsal fin. Next, draw two more triangle shapes on either side of the body for the pectoral fins. Finally, add a small triangle shape at the bottom of the fish for the pelvic fin.
4. Add the eye by drawing a small circle near the head of the fish. You can also add a tiny dot inside the circle to represent the pupil. To complete your fish drawing, add some scales by drawing small, overlapping lines along the body of the fish.
5. Feel free to add your own creative touches to your fish drawing, such as adding patterns or colors to make it unique. Once you are satisfied with your drawing, you can outline it with a pen or marker and erase any unnecessary pencil marks.
With these simple steps, you have successfully created a beautiful fish drawing that is both easy and fun to make. Remember, practice makes perfect, so don’t be afraid to experiment and try different techniques to enhance your drawing skills. Happy drawing!
In conclusion, drawing a fish can be a rewarding and enjoyable experience, especially when you follow easy steps and guidelines. So grab your drawing supplies and start creating your own underwater masterpiece today!
