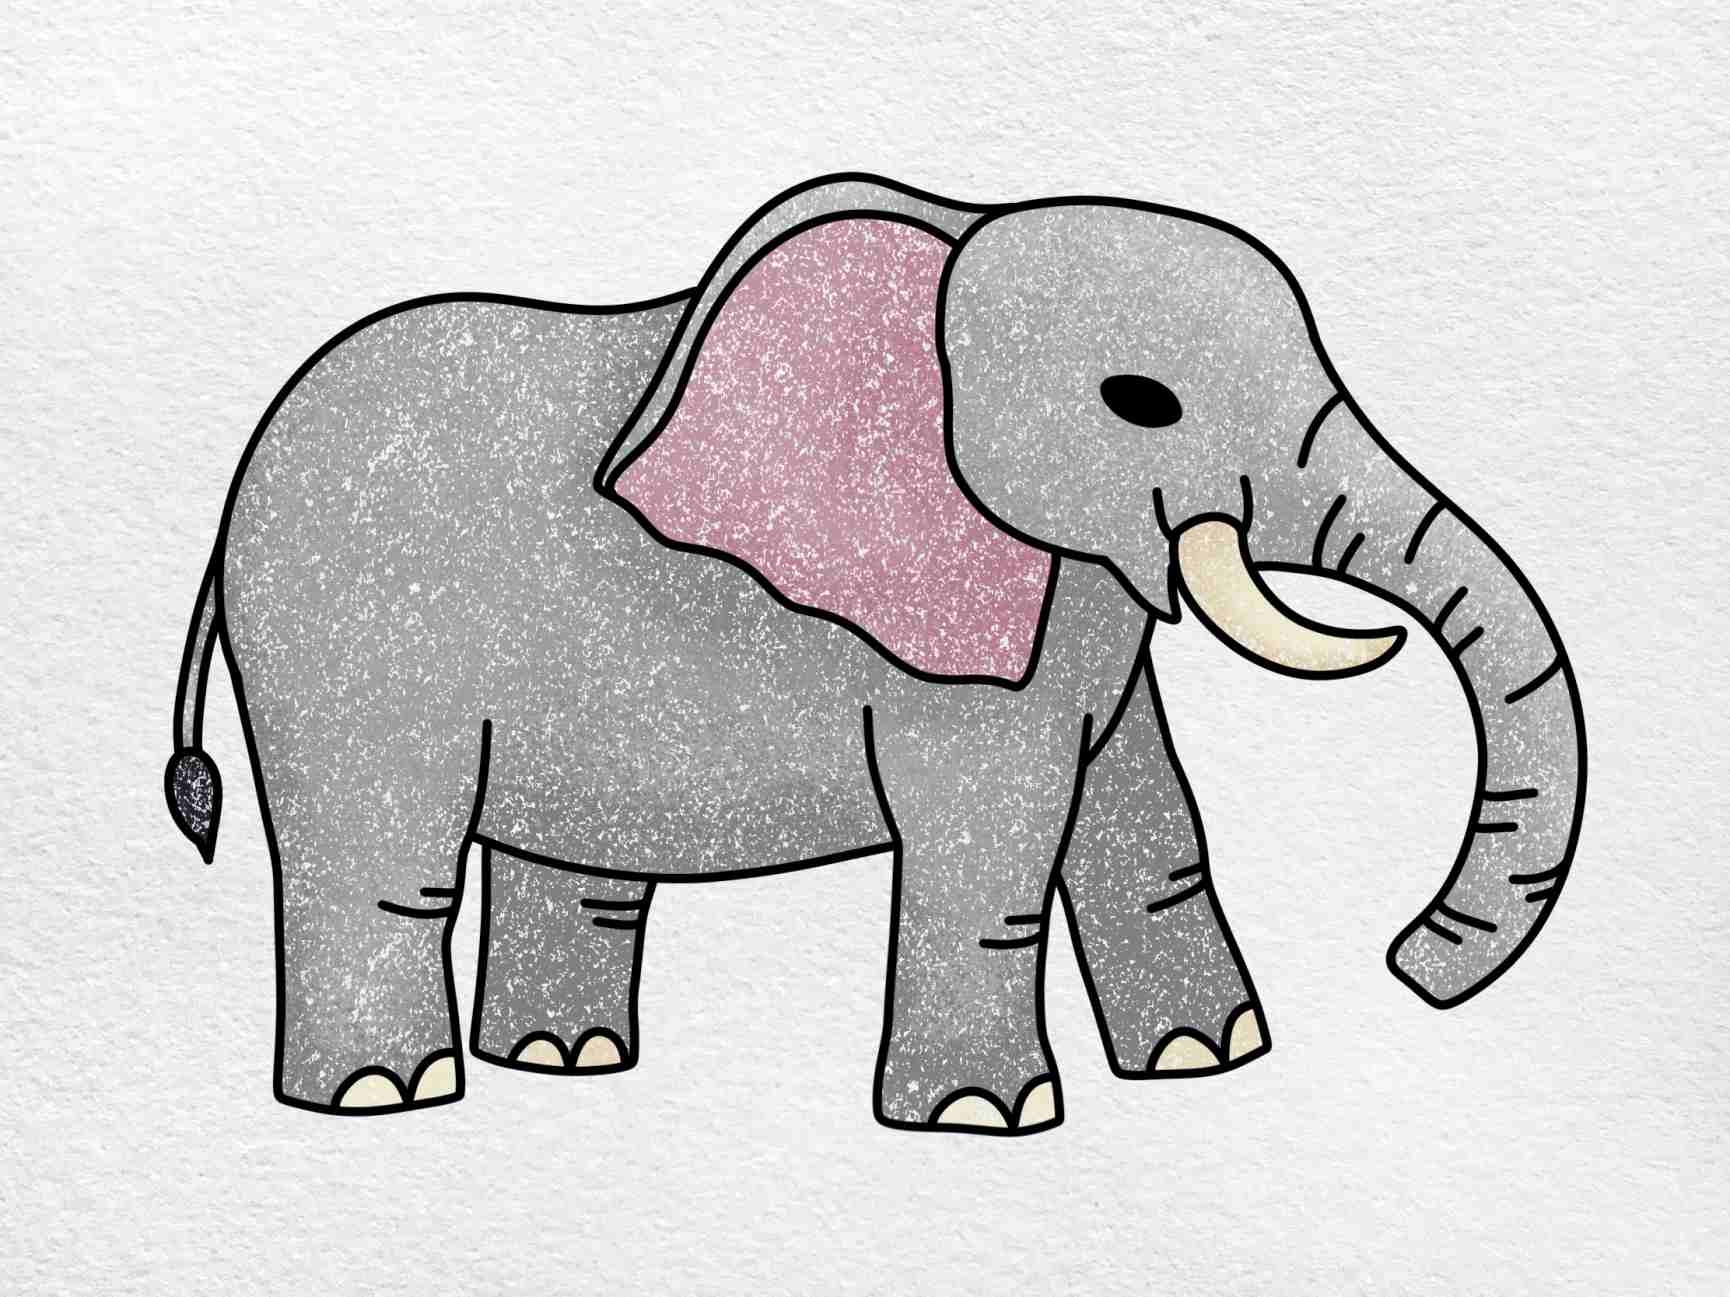
Elephants are magnificent creatures known for their large ears, long trunks, and tusks. Drawing an elephant may seem like a daunting task, but with a few simple steps, you can create your very own masterpiece. Whether you are an experienced artist or a beginner, this guide will help you learn how to draw an elephant in a few easy steps.
Before you begin drawing, it is important to gather all the necessary materials. You will need a pencil, eraser, paper, and any coloring tools you may want to use. Once you have your supplies ready, you can start the drawing process by following these steps.
Step 1: Outline the Body
Start by drawing a large oval shape for the body of the elephant. Add two smaller ovals on top for the head and a smaller oval at the back for the hindquarters. Connect the ovals with curved lines to create the body of the elephant.
Step 2: Add the Features
Next, add the ears, trunk, and tusks to the elephant. Elephants have large ears that are shaped like a fan. Draw two curved lines for the trunk, and add two long, curved lines for the tusks. Don’t forget to add the eye and mouth as well.
Step 3: Detail the Elephant
Once you have the basic outline of the elephant, you can start adding details to make it more realistic. Add wrinkles and folds to the skin, and texture to the ears. You can also add shading to give the elephant more dimension and depth.
Step 4: Color the Elephant
Finally, you can add color to your elephant drawing. Elephants are typically gray, but you can use different shades to add depth and dimension to your drawing. Don’t forget to add shading to make your elephant look more realistic.
In conclusion, drawing an elephant may seem challenging at first, but with practice and patience, you can create a beautiful drawing of this majestic animal. Remember to have fun and experiment with different techniques to make your drawing unique. So grab your pencil and paper, and start drawing your very own elephant masterpiece!
