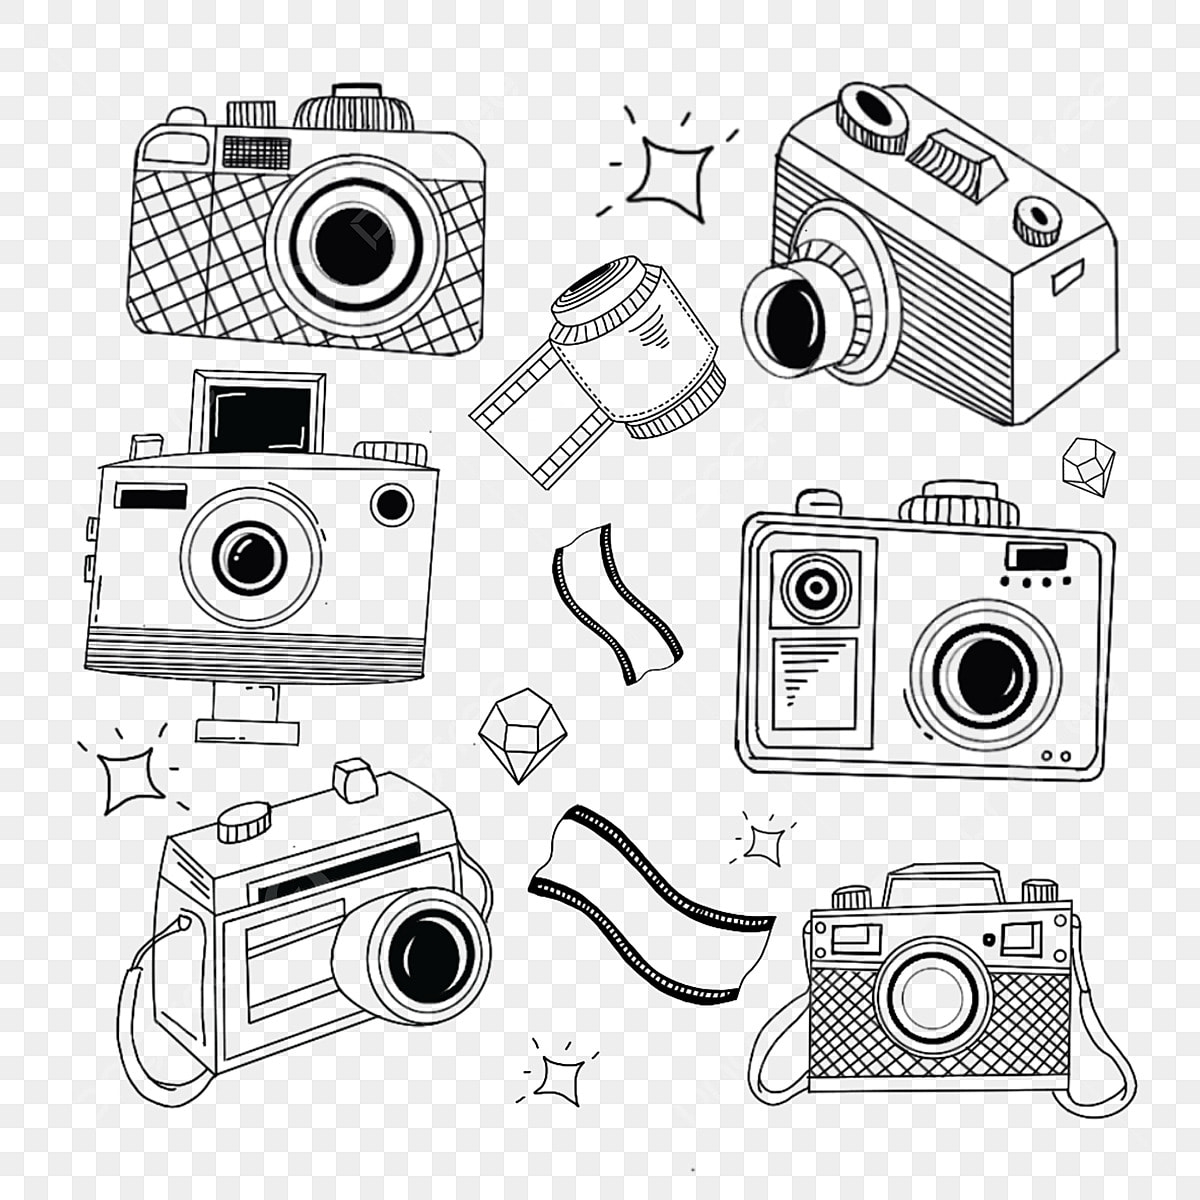
Cameras are essential tools for capturing memories and moments. Drawing a camera can be a fun and creative way to express your love for photography. Whether you are a beginner or an experienced artist, this step-by-step guide will help you draw a camera with ease.
Before you start drawing, gather all the necessary materials such as a pencil, eraser, and paper. Find a comfortable and well-lit workspace to ensure you have a smooth drawing experience. Now, let’s begin!
Step 1: Sketch the Outline
Start by sketching the basic outline of the camera. Draw a rectangular shape for the body of the camera and a smaller rectangle for the lens. Add a circle for the lens cap and small details like buttons and dials on the camera body.
Step 2: Add Details
Next, add more details to your camera drawing. Draw lines to indicate the texture of the camera body, such as grip patterns or metallic accents. Add labels to the buttons and dials to make your drawing more realistic.
Step 3: Shade and Highlight
Once you have added all the necessary details, it’s time to shade and highlight your camera drawing. Use a pencil to add shading to create depth and dimension. Add highlights with an eraser to make certain parts of the camera stand out.
Step 4: Final Touches
Lastly, make any final touches to your drawing. Clean up any stray lines with an eraser and add any additional details to enhance your drawing. Step back and admire your finished camera drawing!
In conclusion, drawing a camera can be a fun and rewarding experience. Whether you are a photography enthusiast or just looking to improve your drawing skills, following these steps will help you create a realistic camera drawing. So grab your pencil and paper, and start drawing your own camera masterpiece today!
