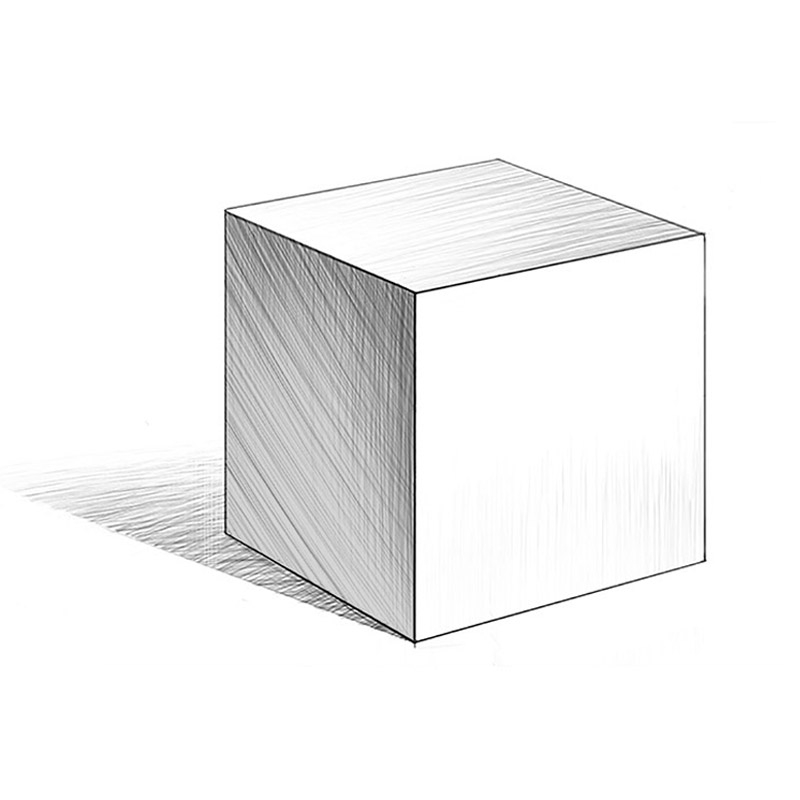
Learning how to draw a cube is a fundamental skill in the world of art and design. Whether you are a beginner or an experienced artist, mastering the art of drawing a cube can help you improve your overall drawing skills and perspective. In this article, we will guide you through the steps of drawing a cube with easy to follow instructions.
To begin drawing a cube, you will need a pencil, ruler, and paper. Make sure to choose a clean and flat surface to work on. Start by drawing a square as the base of your cube. Use your ruler to ensure that all the sides of the square are equal in length. This will serve as the foundation of your cube.
How to Draw a Cube
Next, draw two vertical lines extending upwards from each corner of the square. These lines will determine the height of your cube. Make sure that the lines are parallel to each other to maintain a consistent perspective. Connect the top of the vertical lines with horizontal lines to complete the outline of your cube.
Once you have the basic outline of your cube, you can add shading and details to give it a three-dimensional look. Start by determining the light source in your drawing and shade the sides of the cube accordingly. Use light strokes to create a gradient effect and add depth to your cube. You can also add shadows to the bottom of the cube to enhance its realism.
Experiment with different shading techniques such as cross-hatching and stippling to add texture and dimension to your cube. Practice drawing cubes from different angles and perspectives to improve your skills. Remember that drawing is a skill that requires practice and patience, so don’t be discouraged if your first attempts are not perfect.
In conclusion, drawing a cube is a fundamental skill that every artist should master. By following these simple steps and practicing regularly, you can improve your drawing skills and create realistic and detailed cubes. Remember to be patient with yourself and enjoy the process of learning and creating art.
