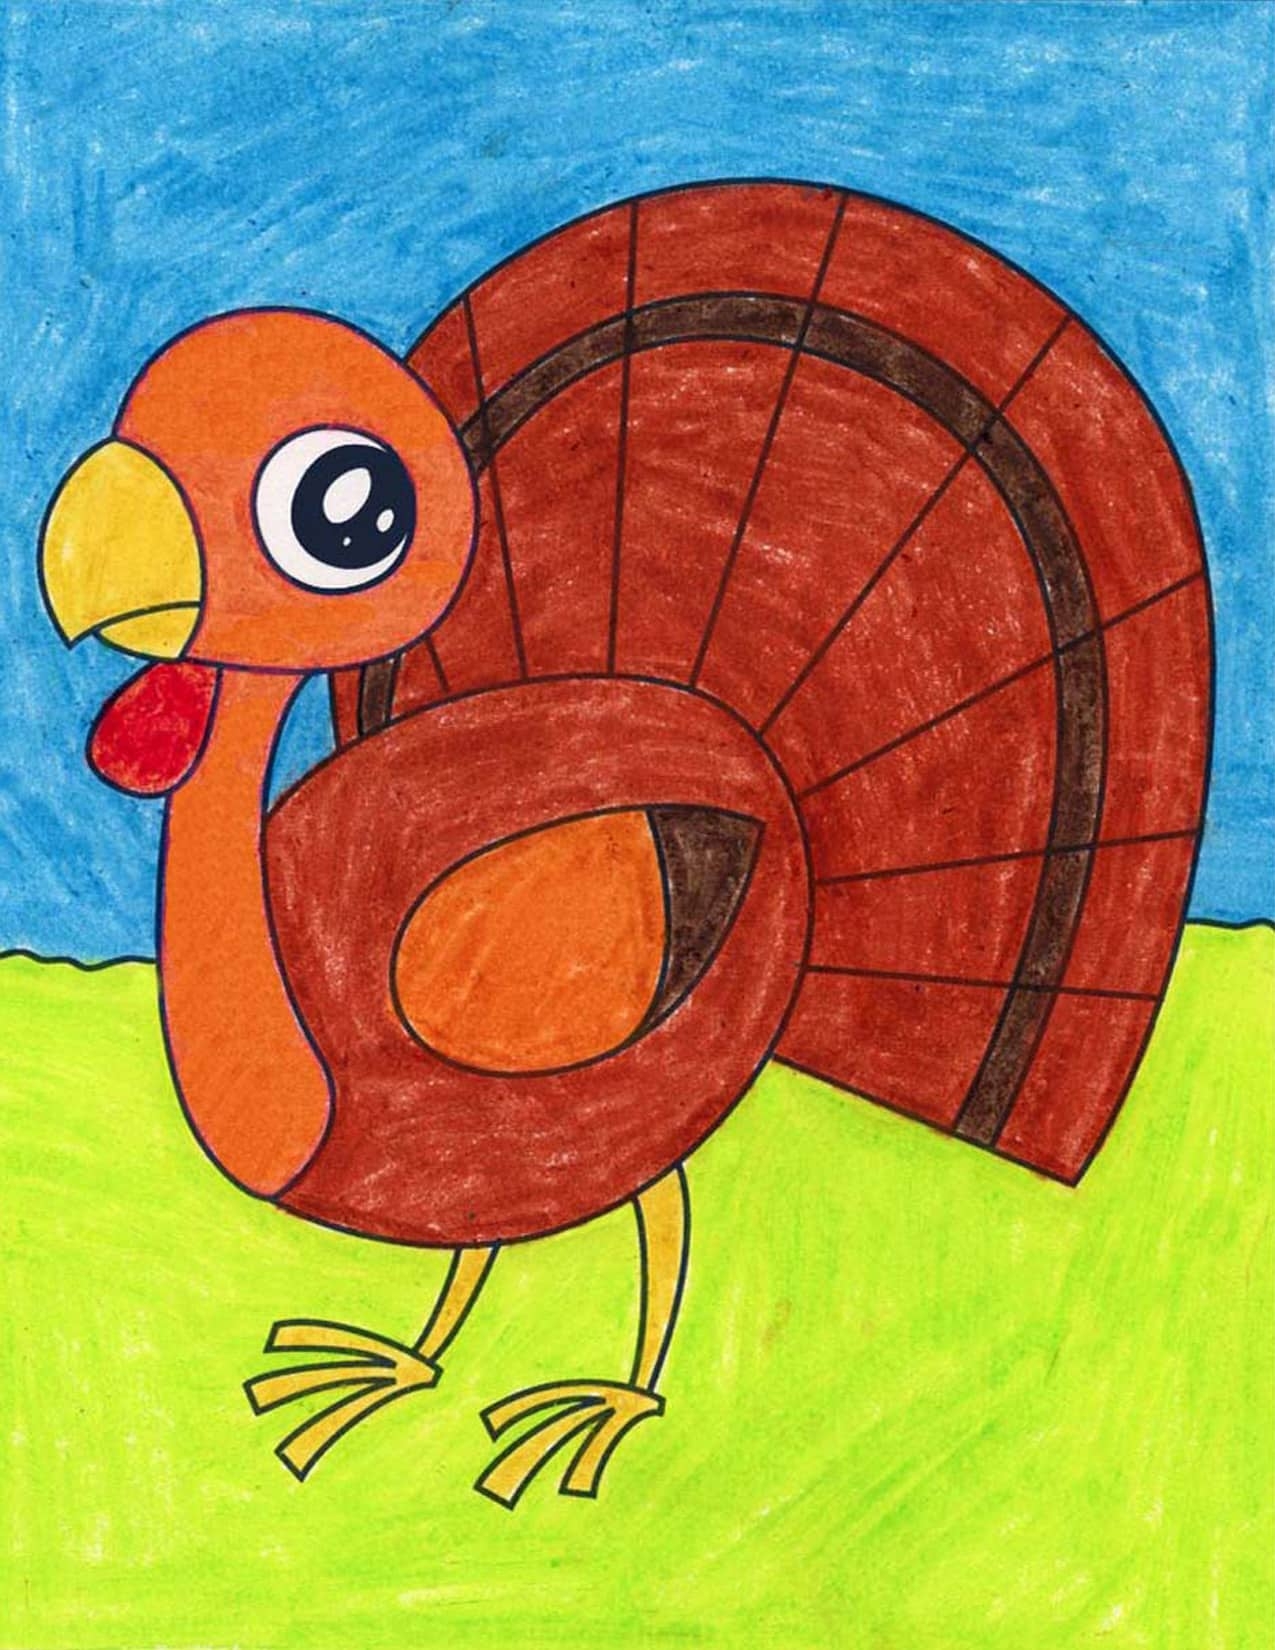
Thanksgiving is just around the corner, and what better way to get into the holiday spirit than by drawing a cute turkey? Whether you’re an experienced artist or just starting out, this step-by-step guide will help you create a simple and adorable turkey drawing that is perfect for the festive season.
With just a few basic shapes and lines, you can create a charming turkey that will impress your friends and family. So grab your pencil and paper, and let’s get started!
Step 1: Draw the Body
Start by drawing a rounded oval shape for the turkey’s body. This will be the main part of your turkey. Next, add a smaller oval shape on top of the body for the head. Connect the two shapes with a curved line to create the neck.
Step 2: Add the Feathers
Draw several small oval shapes around the body of the turkey to represent the feathers. These can be of different sizes and placed randomly to give your turkey a fluffy and festive look. Don’t worry about making them perfect – the more imperfect they are, the cuter your turkey will be!
Step 3: Draw the Face
Add two small circles for the eyes on the turkey’s head. Then, draw a small triangle shape below the eyes for the beak. Finally, add a small curved line below the beak for the wattle. Your turkey now has a cute and friendly face!
Step 4: Add Details
To give your turkey drawing some extra flair, you can add details like tiny feet at the bottom of the body, or even a hat or bowtie to make it even more festive. Get creative and have fun with it!
Step 5: Color Your Turkey
Once you’re happy with your turkey drawing, you can add color using colored pencils, markers, or even watercolors. Use warm shades of brown, orange, and yellow to bring your turkey to life and make it stand out on the page.
Now that you’ve followed these simple steps, you have a cute and easy turkey drawing that is perfect for Thanksgiving decorations or greeting cards. Show off your artistic skills and share your masterpiece with others to spread some holiday cheer!
