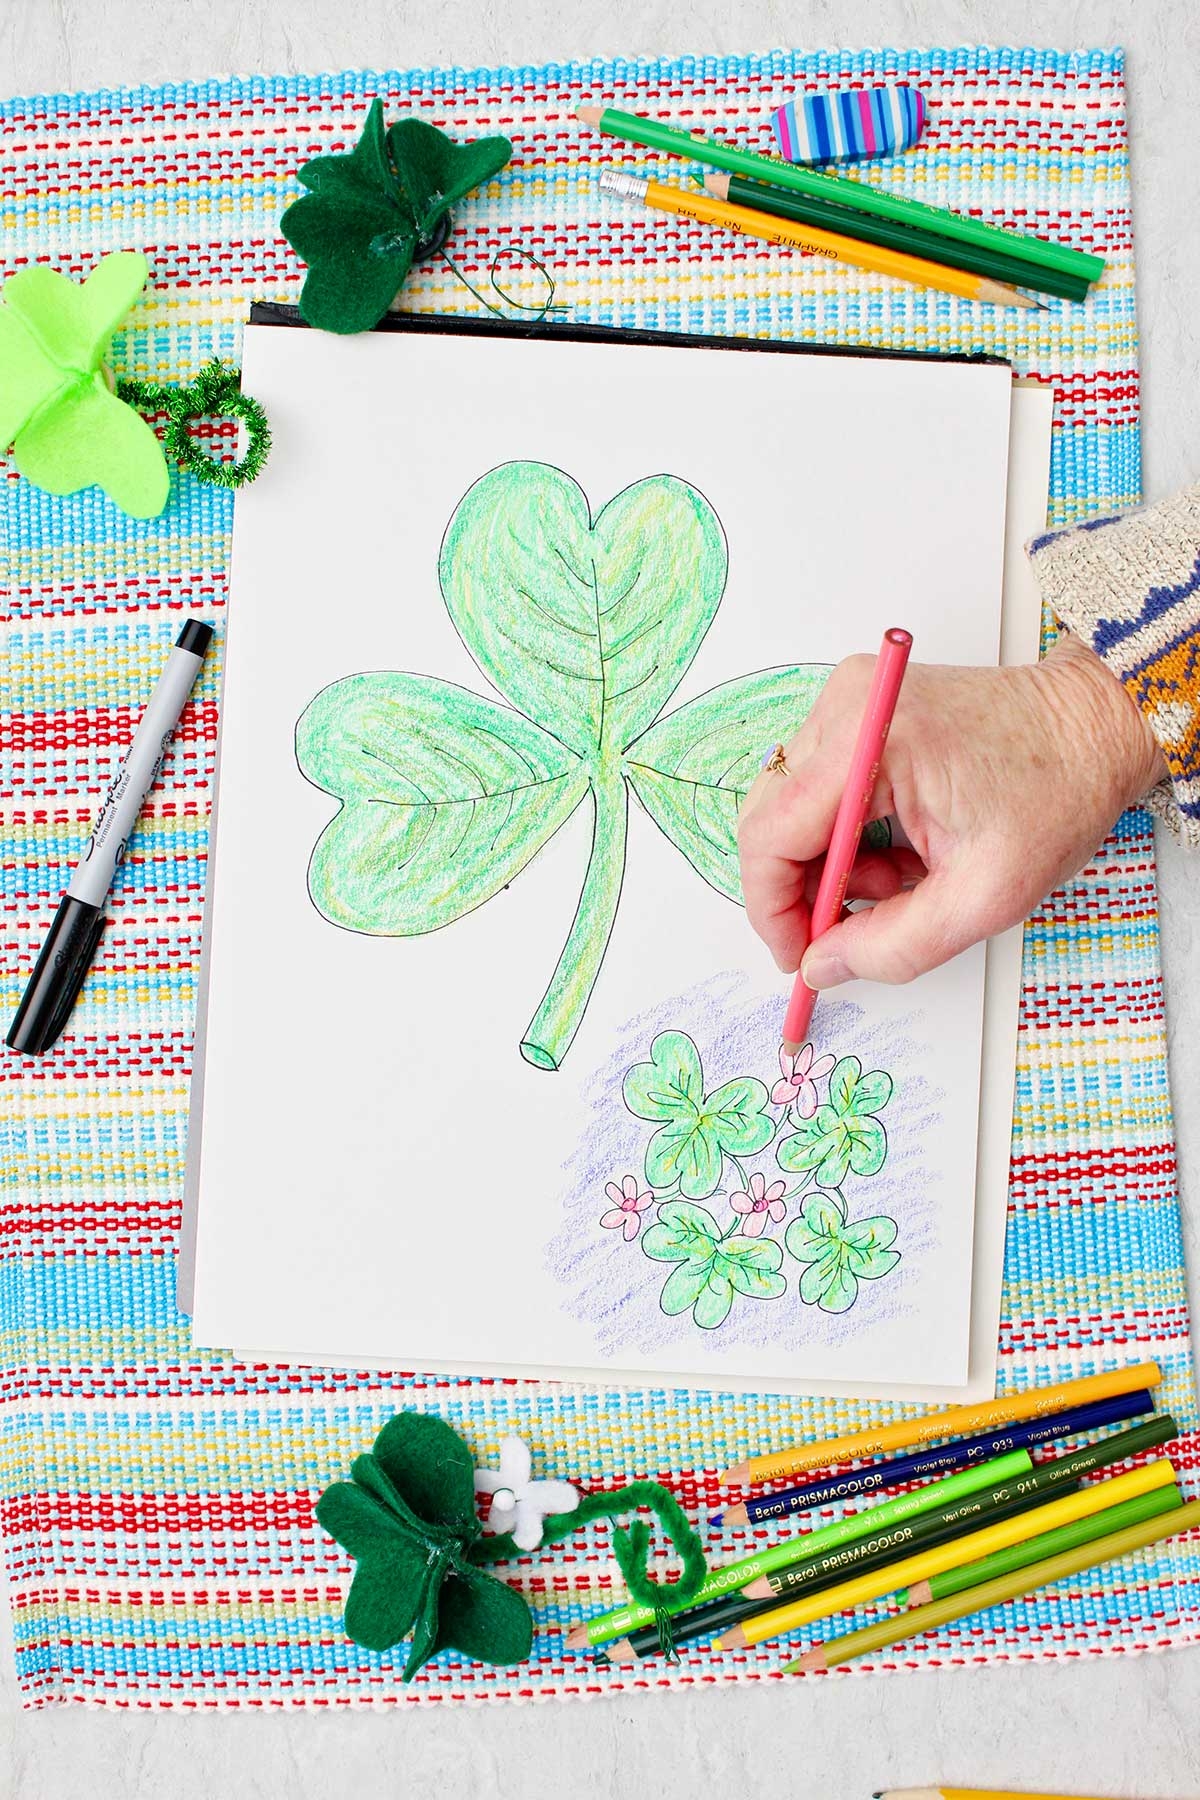
A shamrock is a symbol of luck and is often associated with St. Patrick’s Day. Drawing a shamrock can be a fun and simple activity that anyone can do. Whether you want to add a touch of luck to your artwork or just want to try your hand at drawing, creating a shamrock is a great way to get started.
In this article, we will provide you with step-by-step instructions on how to draw a shamrock. Follow these easy steps and you’ll be drawing shamrocks like a pro in no time!
Steps to Draw a Shamrock:
1. Start by drawing a small circle in the center of your paper. This will be the center of your shamrock.
2. Next, draw three heart-shaped petals around the circle. These petals should be connected to the circle and spaced evenly apart.
3. Add a stem at the bottom of the circle extending downward. The stem should be curved slightly and can be as long as you’d like.
4. Finally, add some detail to your shamrock by drawing a line down the center of each petal. This will give your shamrock a more realistic look.
5. Once you’ve completed these steps, you can go back and adjust any lines or shapes to make your shamrock look just right.
Practice drawing shamrocks on different sizes of paper and with various mediums to perfect your technique. You can also add color or shading to your shamrocks to make them stand out even more.
Now that you know how to draw a shamrock, you can use this skill to create festive decorations, greeting cards, or simply to add a bit of luck to your artwork. Have fun experimenting with different styles and sizes of shamrocks and see where your creativity takes you!
In conclusion, drawing a shamrock is a fun and easy way to add a touch of luck to your art projects. Follow the steps outlined in this article and practice your shamrock drawing skills to become a pro in no time. Enjoy the process and have fun creating your own lucky shamrocks!
