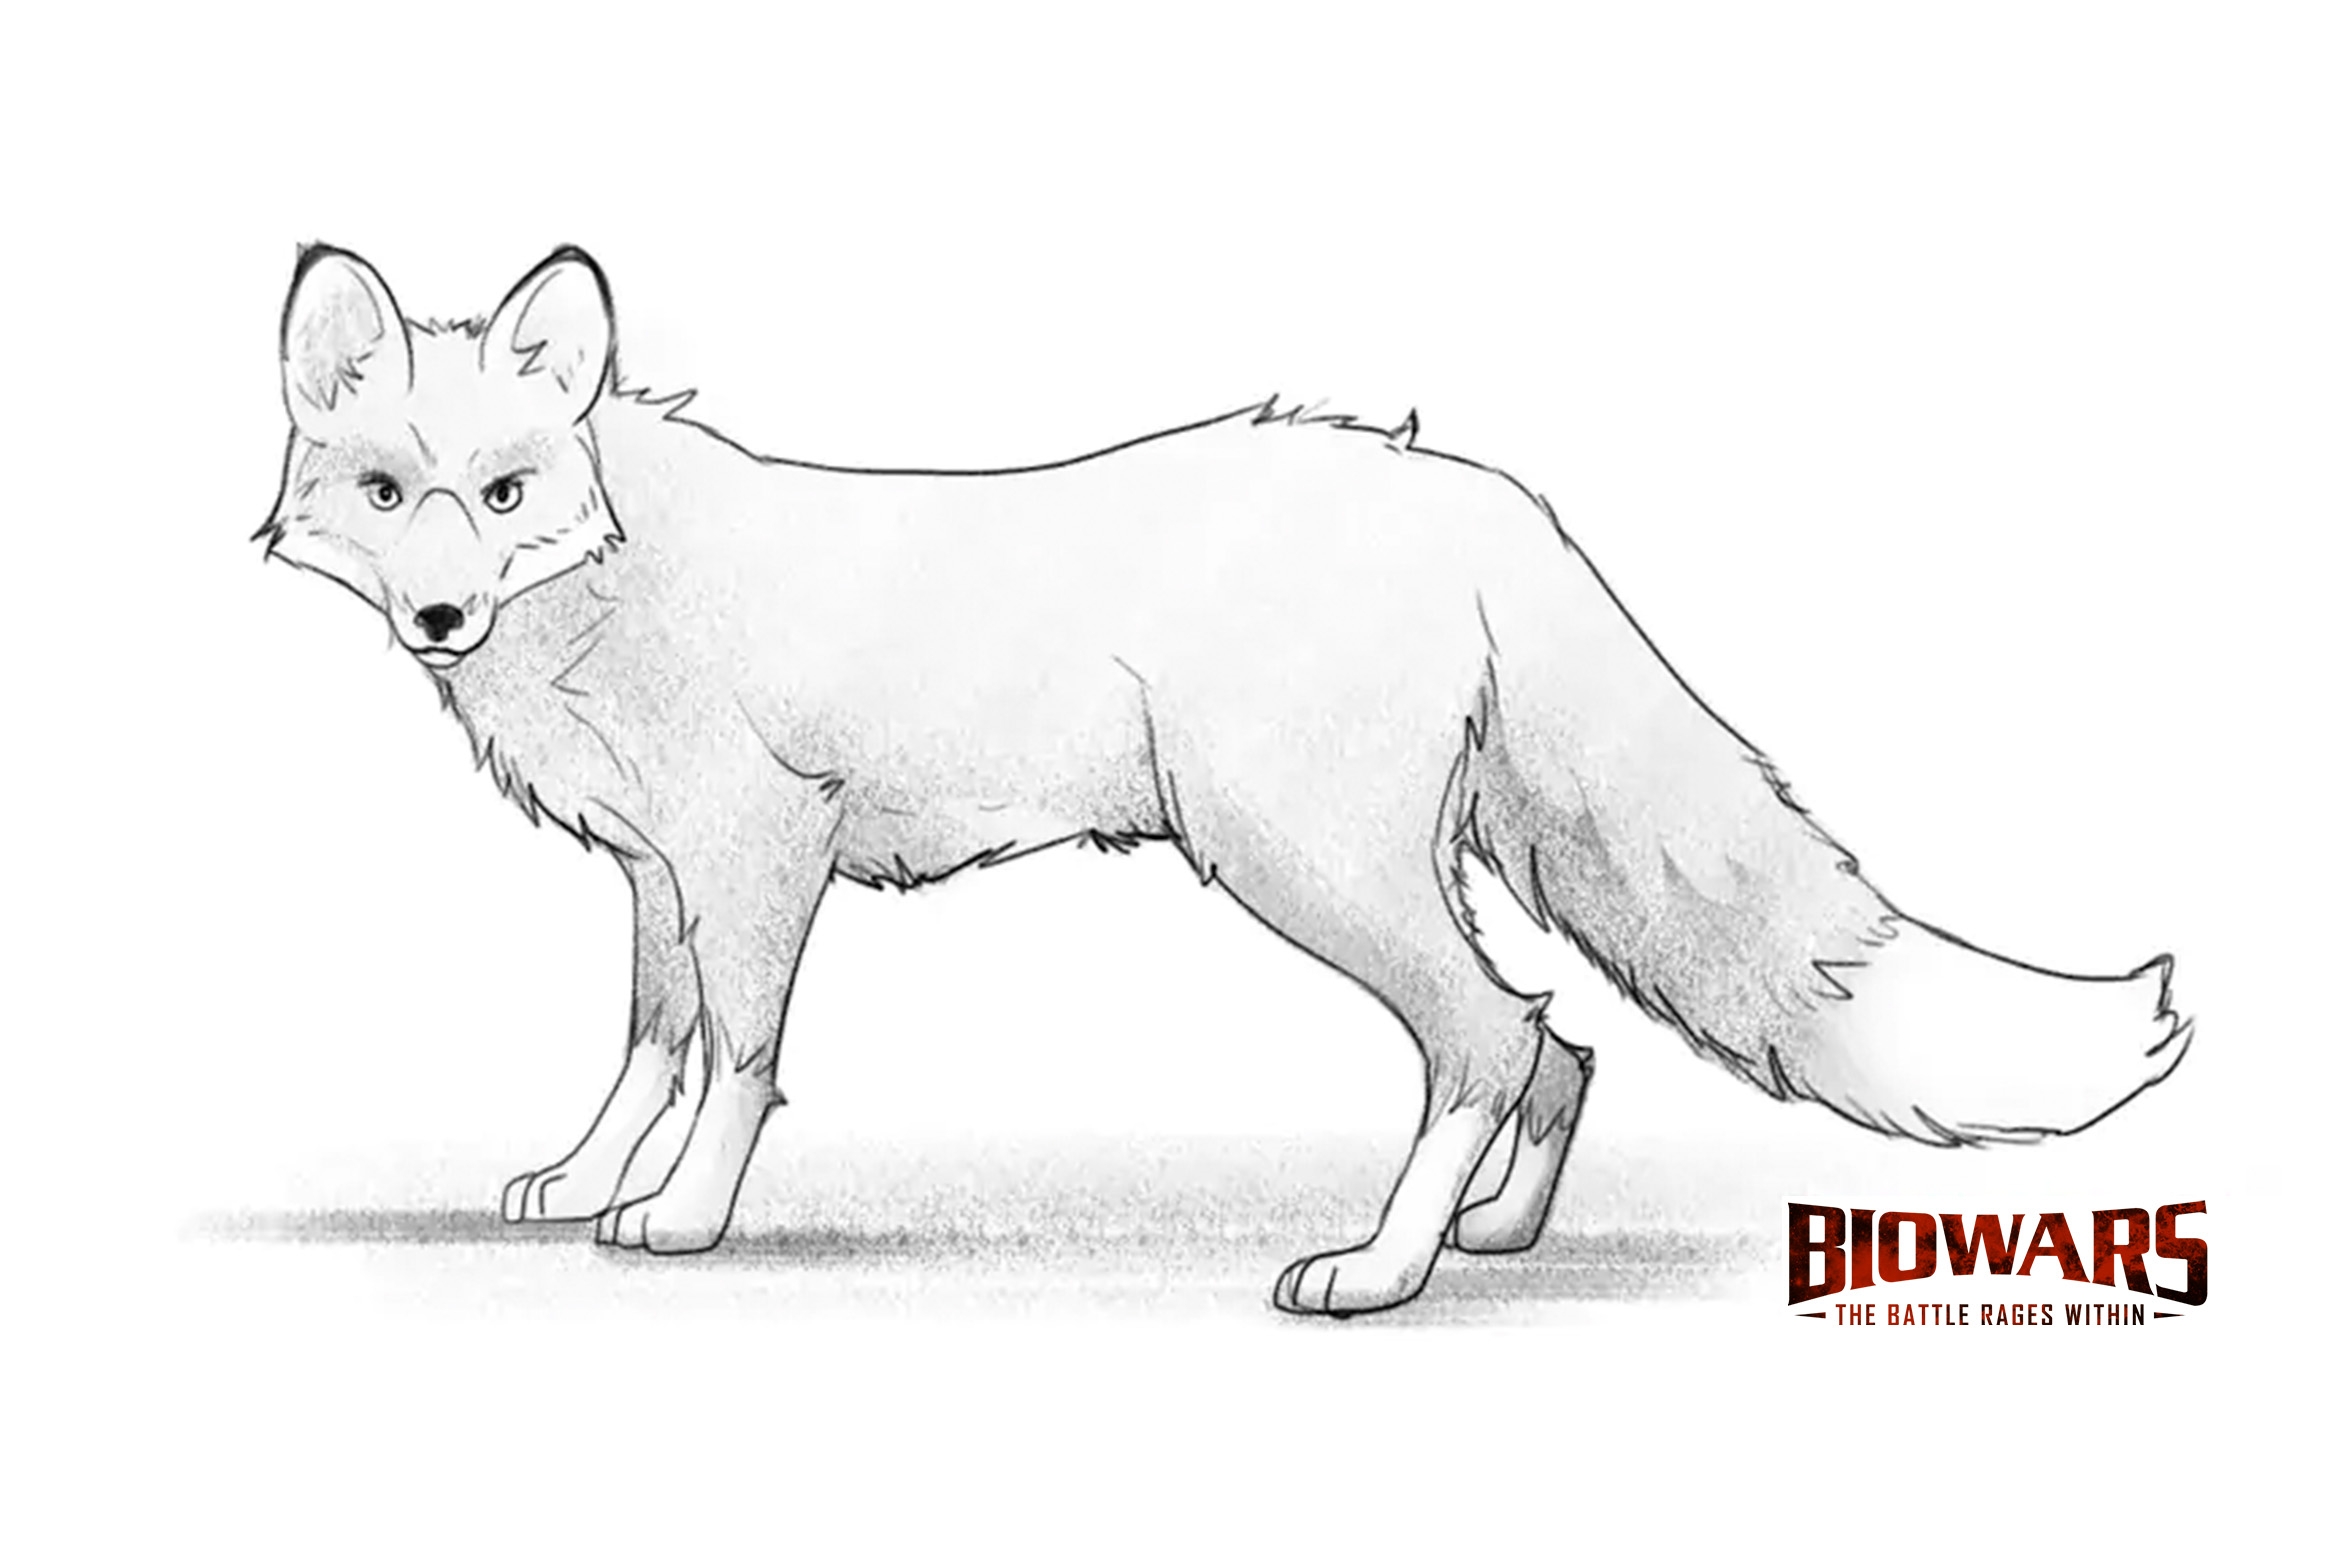
Foxes are fascinating animals known for their cunning and agility. Drawing a fox can be a fun and rewarding experience, whether you are a beginner or an experienced artist. In this article, we will guide you through the steps to create your own fox drawing.
Before you begin drawing, it’s important to study the anatomy and characteristics of a fox. Pay attention to their long, bushy tail, pointed ears, and distinctive facial features. Observing reference images of foxes can help you understand their unique traits and incorporate them into your drawing.
How to Draw a Fox
Start by sketching the basic shapes of the fox’s body. Begin with an oval for the head and a larger oval for the body. Add two smaller ovals for the ears and a curved line for the tail. Use light, quick strokes to outline the general form of the fox.
Next, add details to the fox’s face and features. Draw a triangular shape for the nose, almond-shaped eyes, and pointed muzzle. Add fur texture by drawing short, wispy lines along the fox’s body. Pay attention to the direction of the fur to create a realistic appearance.
Once you have finalized the outline and details of your fox drawing, it’s time to add color. Foxes come in a variety of hues, including red, gray, and white. Use colored pencils or markers to fill in the fur with your chosen colors, blending and layering to create depth and dimension.
After coloring, you can enhance your fox drawing by adding shading and highlights. Use a darker shade to create shadows under the body and around the eyes, while lighter tones can be used to highlight the fur and add dimension. Experiment with different techniques to bring your fox drawing to life.
In conclusion, drawing a fox can be a fun and creative activity for artists of all levels. By following these steps and practicing regularly, you can improve your skills and create beautiful fox illustrations. Remember to have patience and enjoy the process of bringing this majestic animal to paper.
